January 19, 2021
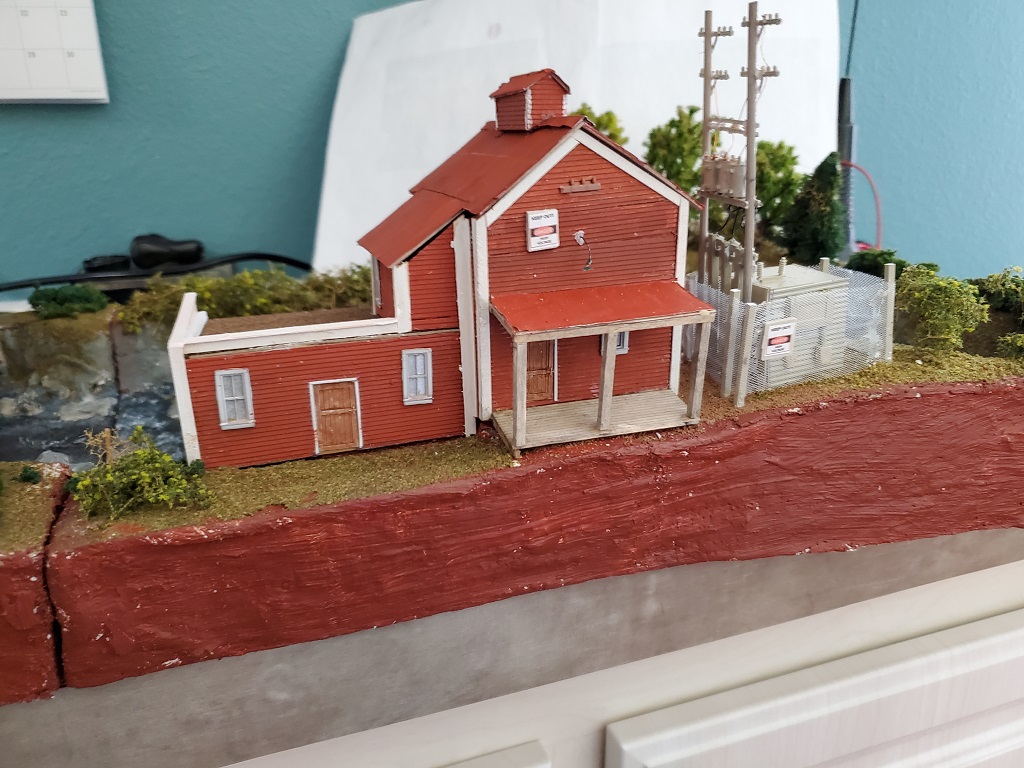
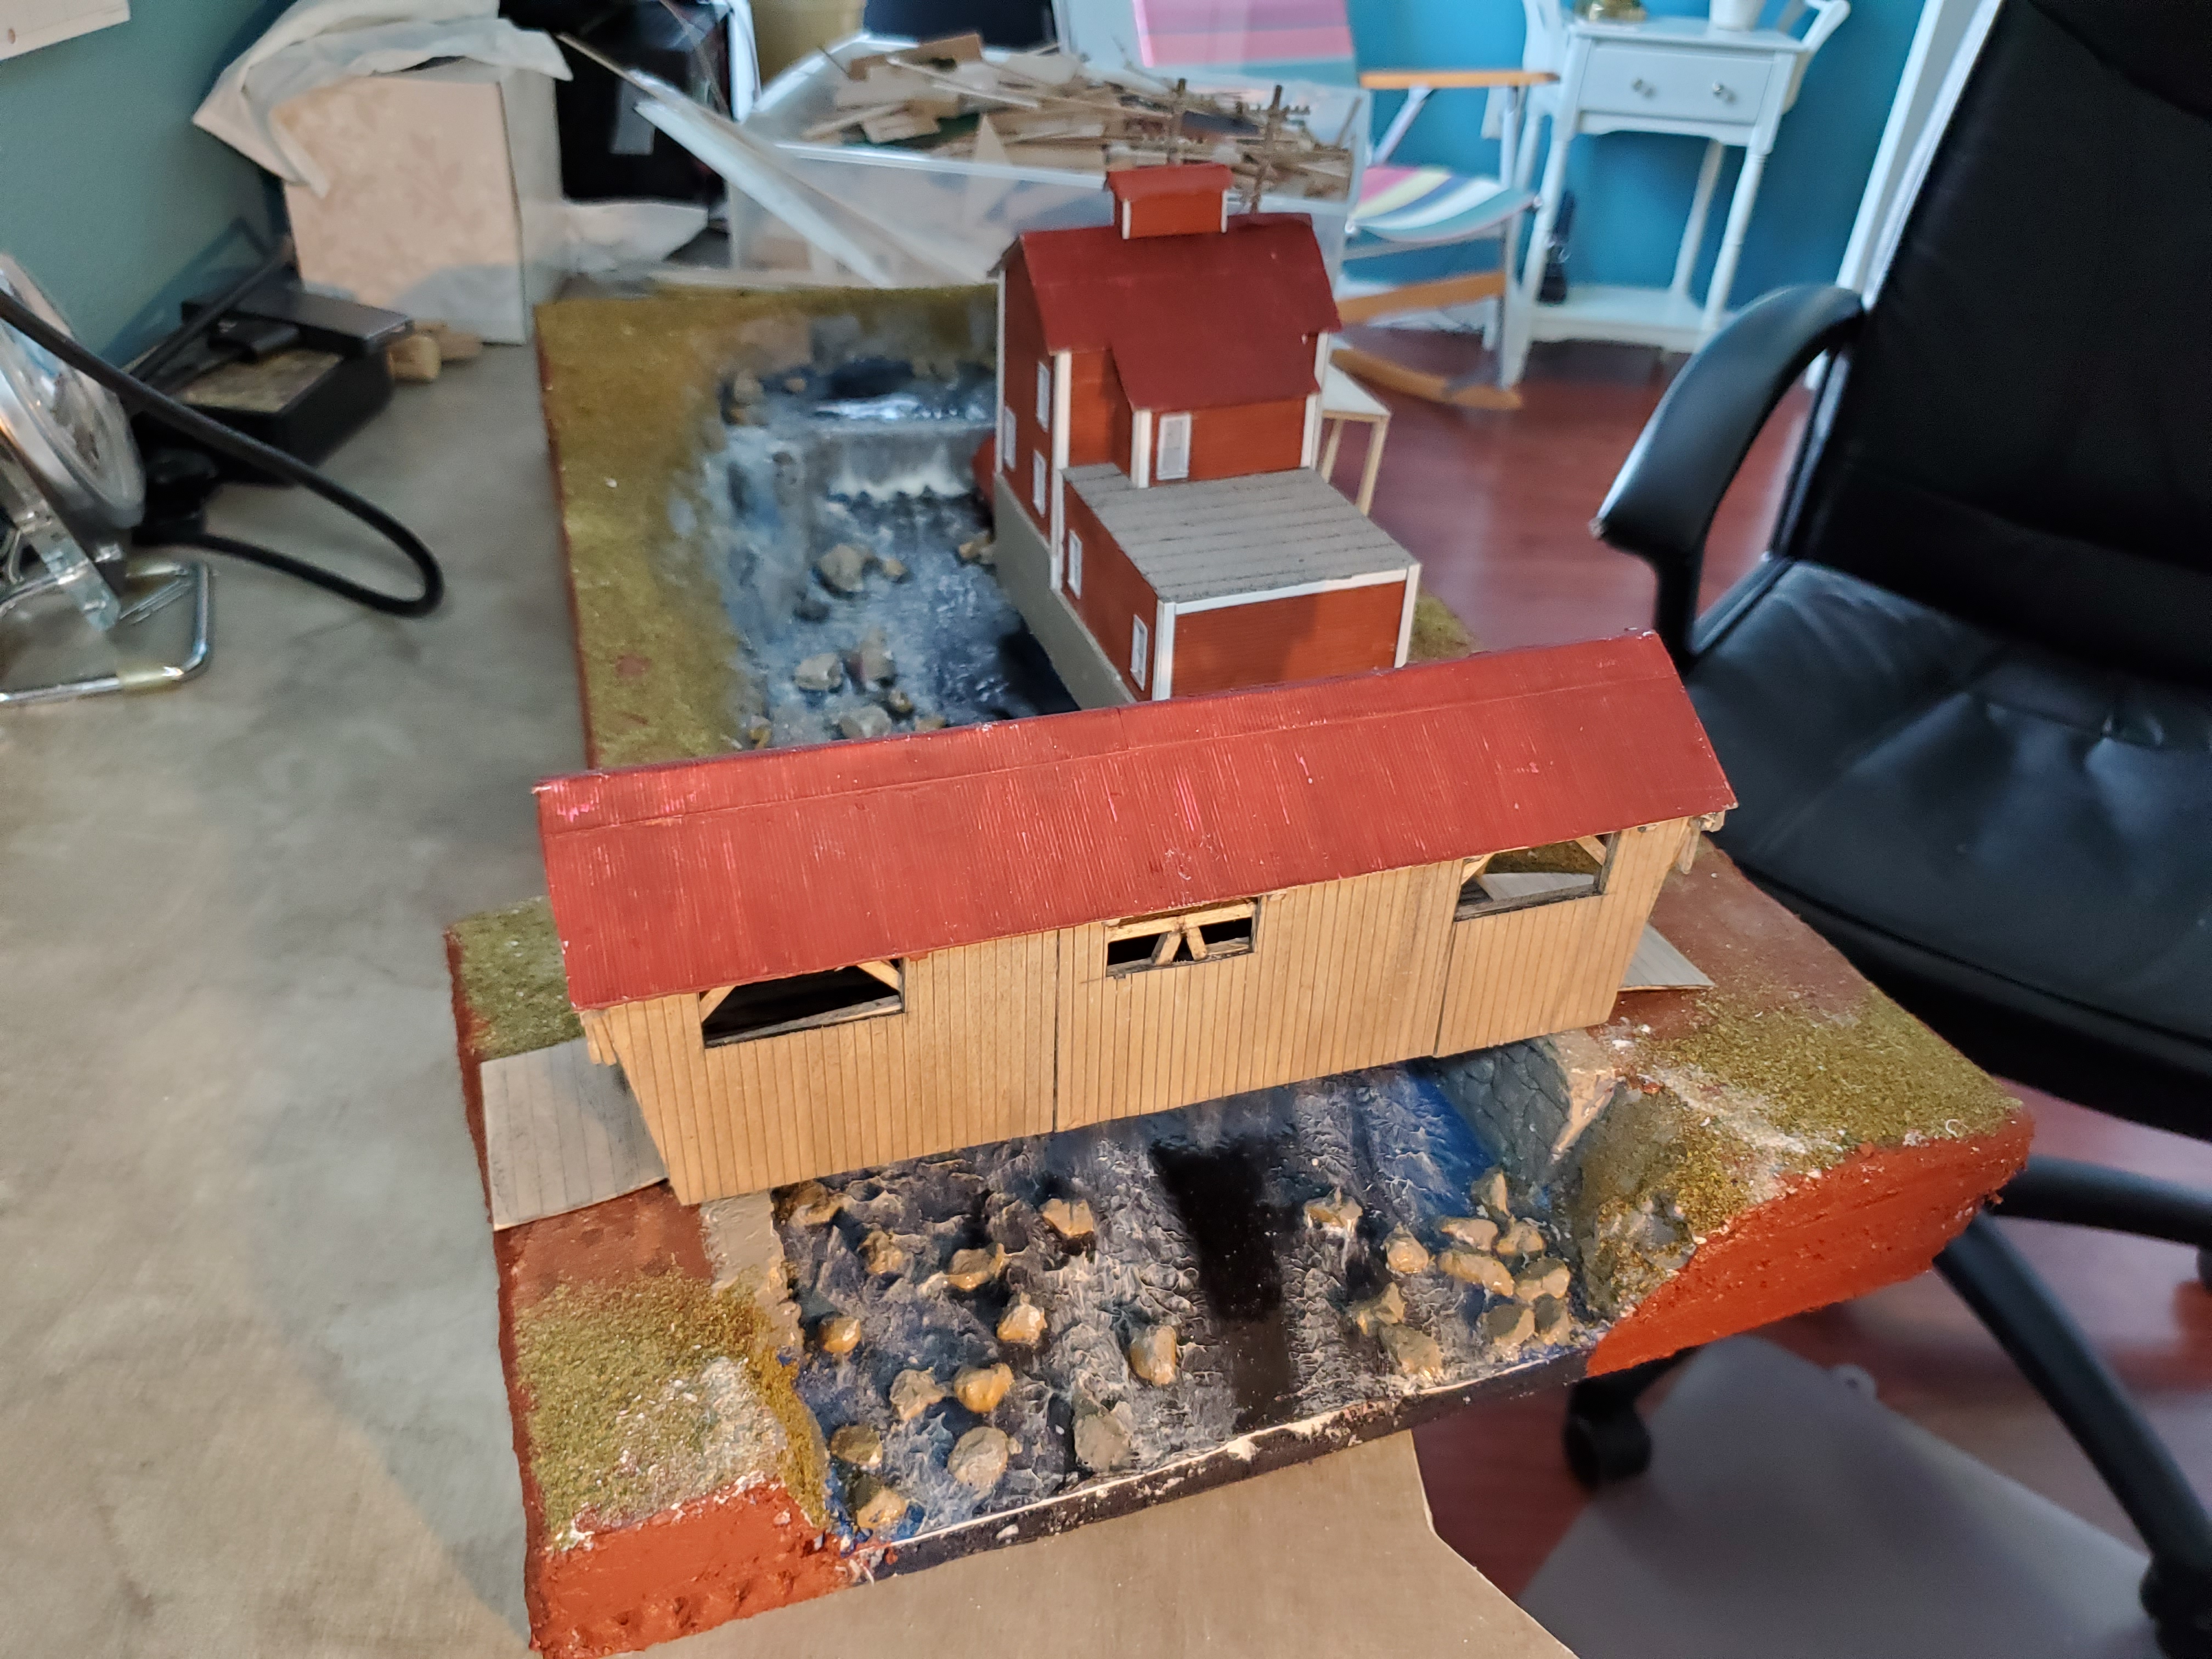
Well after looking at all the pictures I have I decided the most popular image shows the power house building with the shorter bump out. I therefore have rebuilt that section and made it with the shorter stack. Here are pictures of the project as of now. About finished I’d say.
January 17, 2021
I found a history of Johnson that states that Johnson Vermont first got electricity January 15, 1895. That means the power house building must have been built during the latter part of 1894 and operating in January 1895. That does not however explain if it had a tall bump out or a short one. I am thinking that when the building was torn down in 2020 it had a short bump out so the tall one could have been built first then lowered. Still looking for dates on the pictures.
January 13, 2021
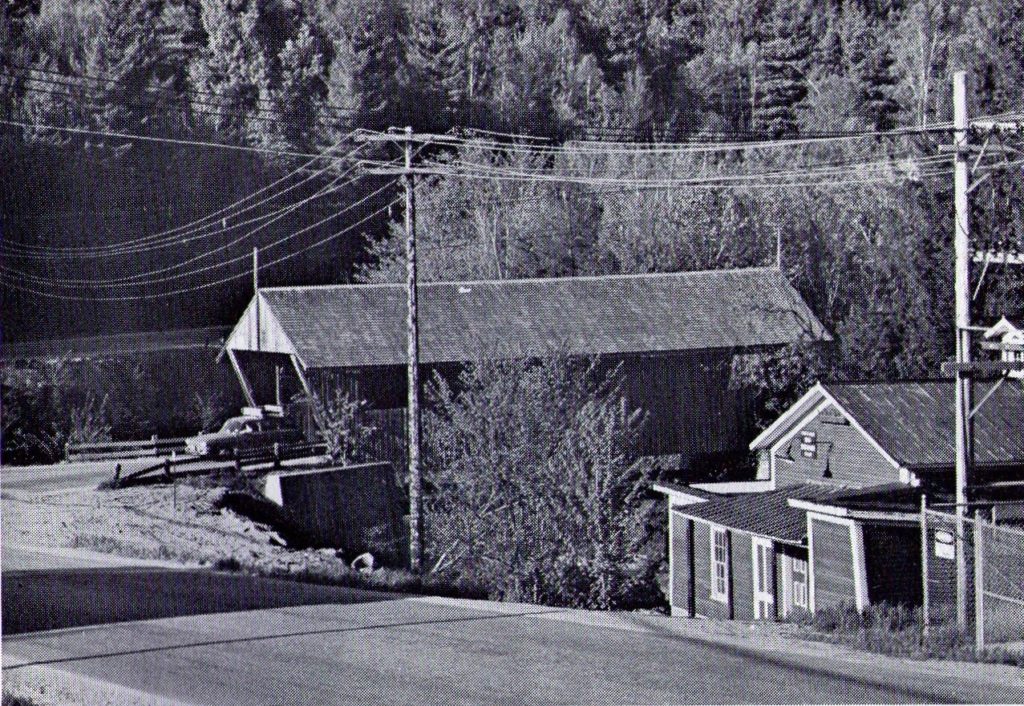
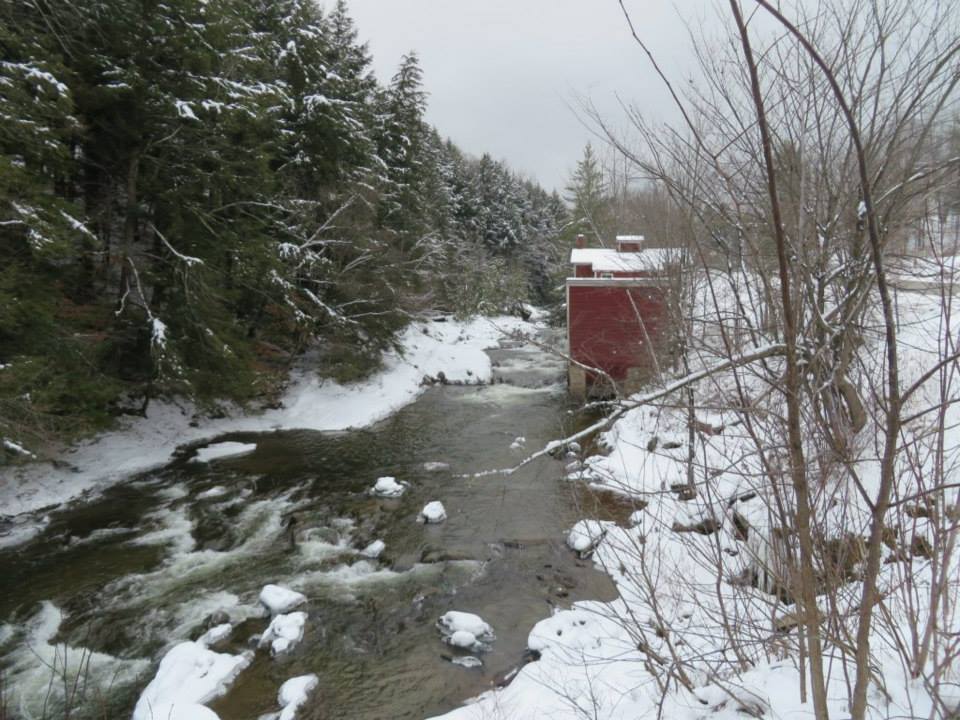
This is one of the pictures of the power house and bridge I used. As you can see it looks like it has a wood shingle roof on the bridge and metal roof on the power house.
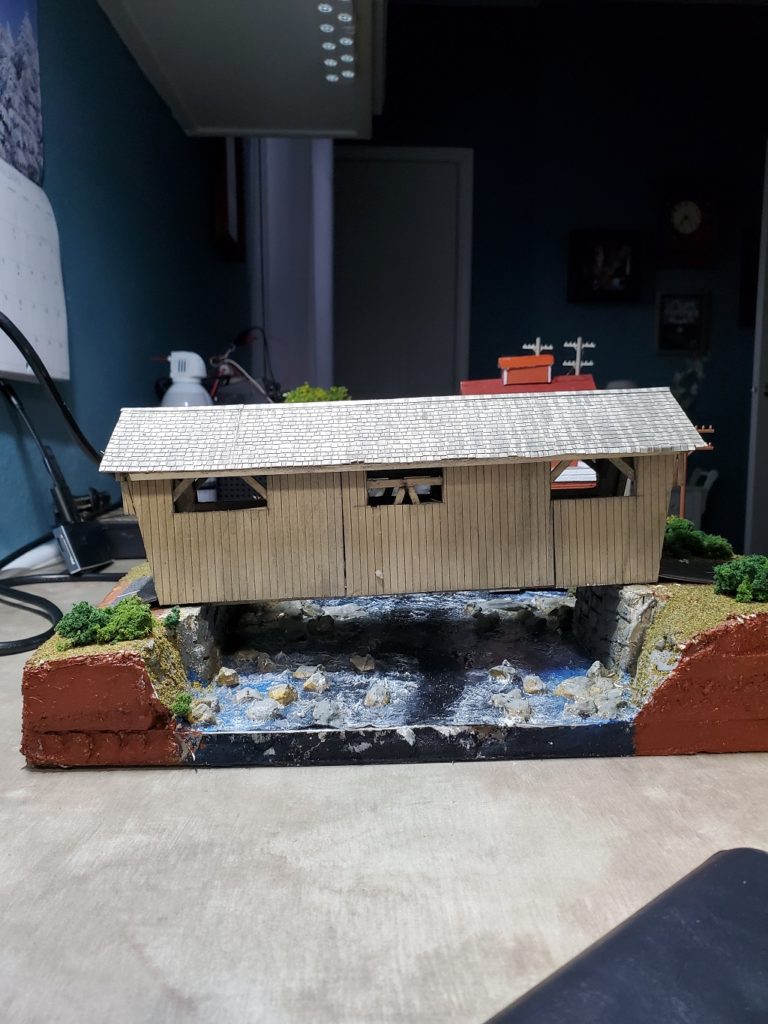
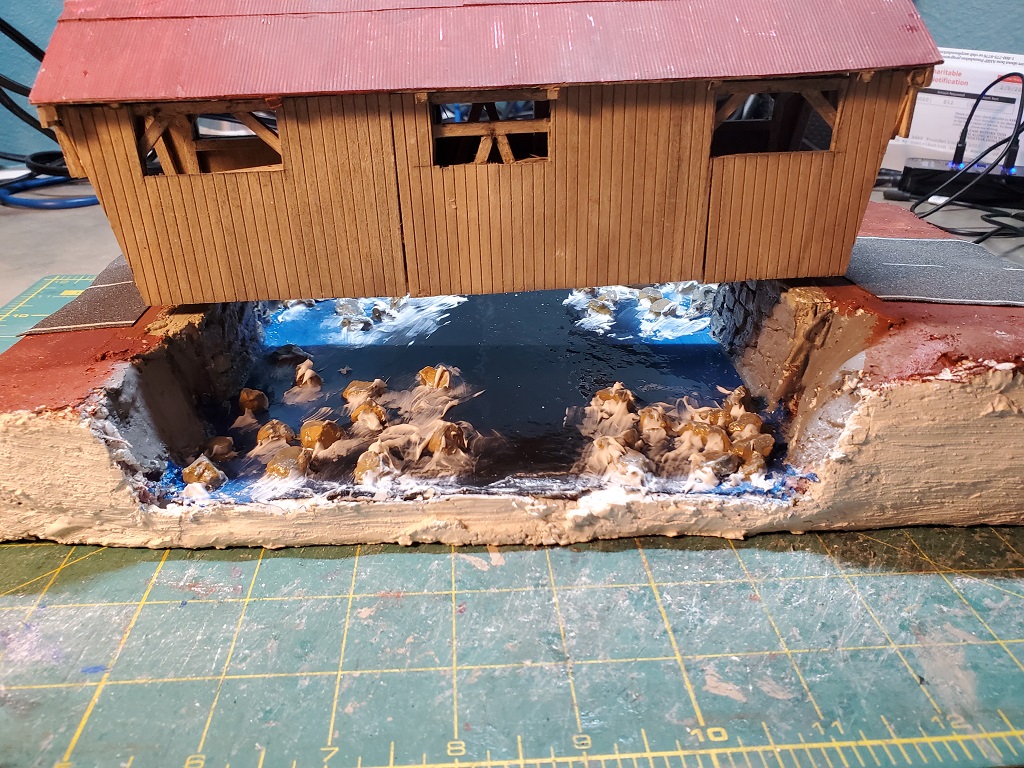
I ordered wood shingles and have installed them on the roof of the covered bridge. Here is a picture of the new roof.
This is the other picture’s I used to make the power house.
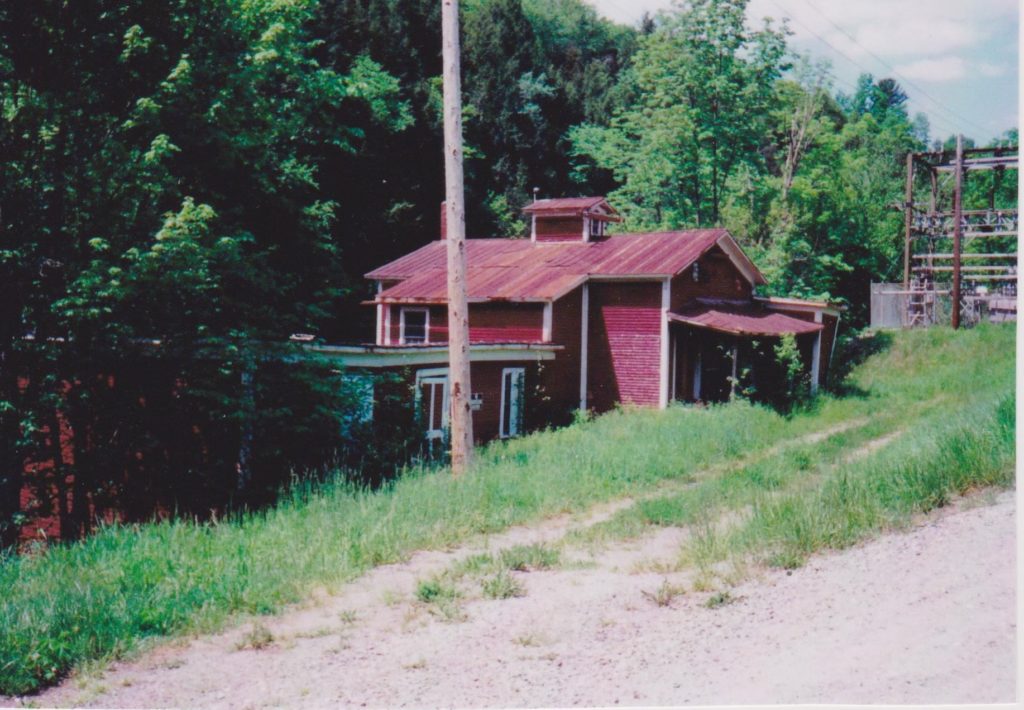
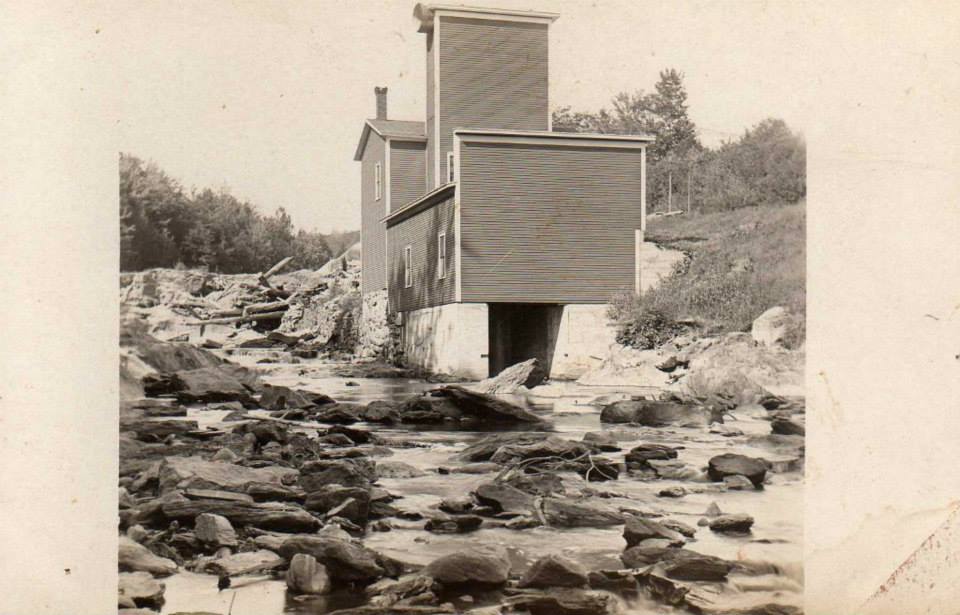
The last picture as you can see the bump out is much higher than that in the other two pictures. I don’t have any dates on them so I am not sure which one to go by. My version I have built at this time is with the shorter bump out, however I am thinking it should be higher. I will ponder this and decide later which version to use.
January 10, 2021
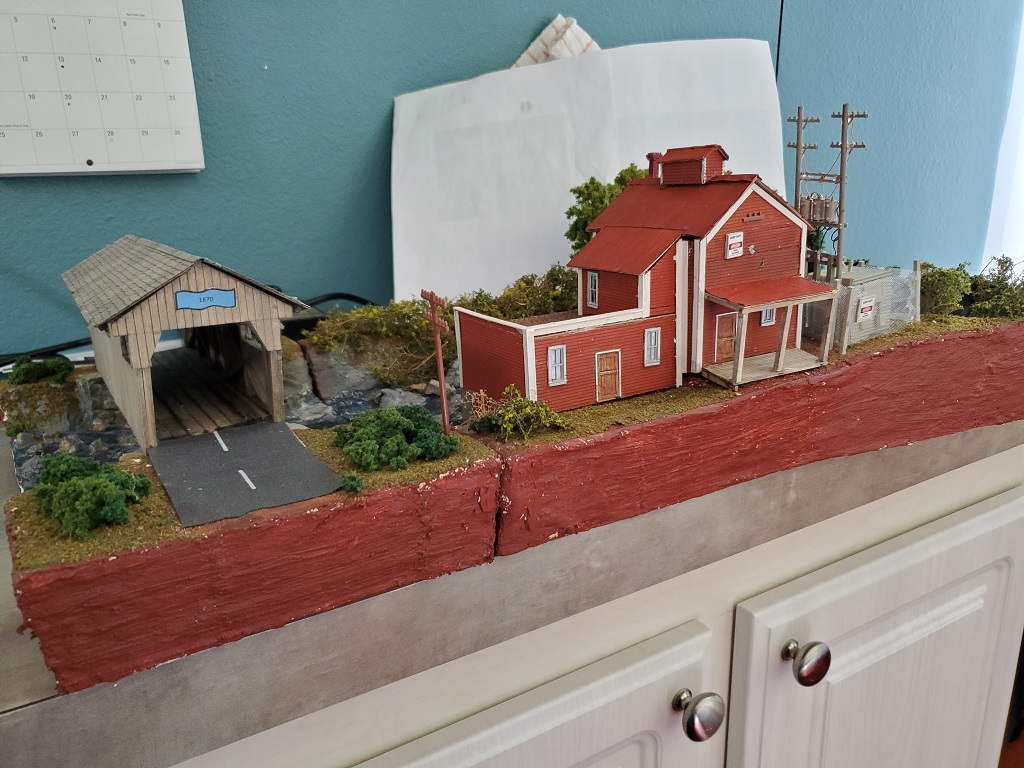
This project is the Powerhouse and Powerhouse bridge located in Johnson Vermont. I walked by this many times on my way to and from school. The powerhouse bridge was first built around 1870. It crossed the Gihon river which is a tributary of the Lamoille River. It was built as a single span Queen post truss structure. It appears in photos that the original bridge had a single, probably wood, roof but since its rebuilt in 2002 a metal roof was added.
I have chosen to use the wood shingle roof as that appears to be the original build.
The Powerhouse building was building was built after the bridge probably in the 1900’s. I have not found a date of actual build at this time.
I started with the bridge build first creating the truss frame from some pictures I found on the internet and my sister was able to supply me with.
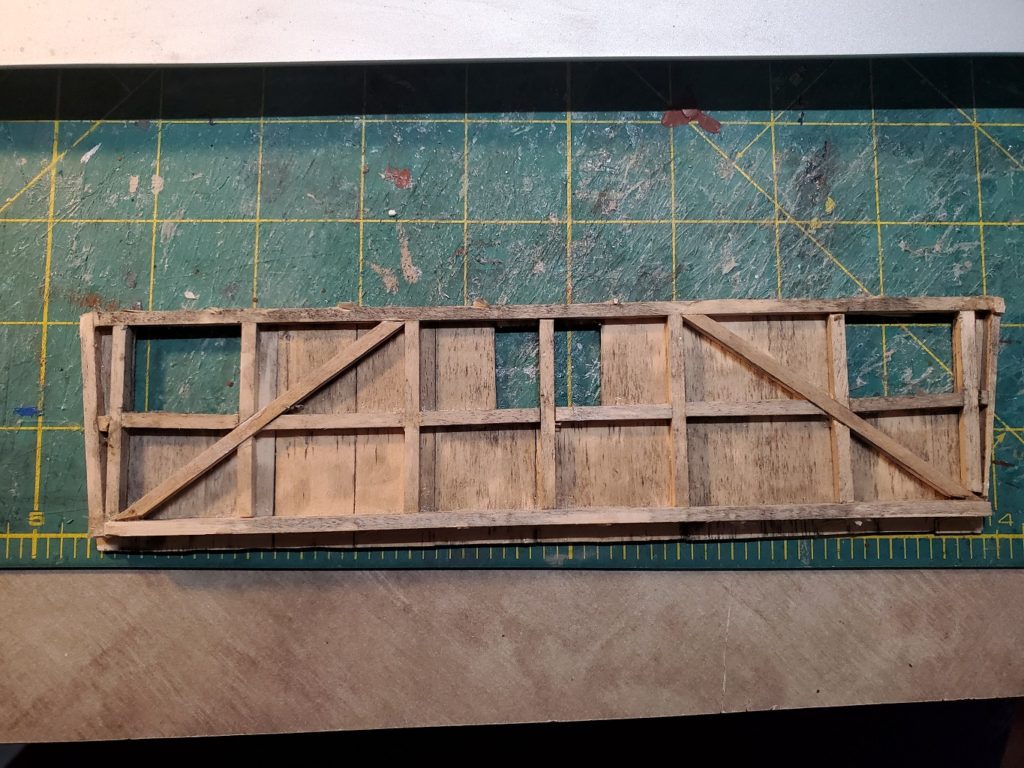
After completing the two sides and the floor I glued them together as seen in the two photos.
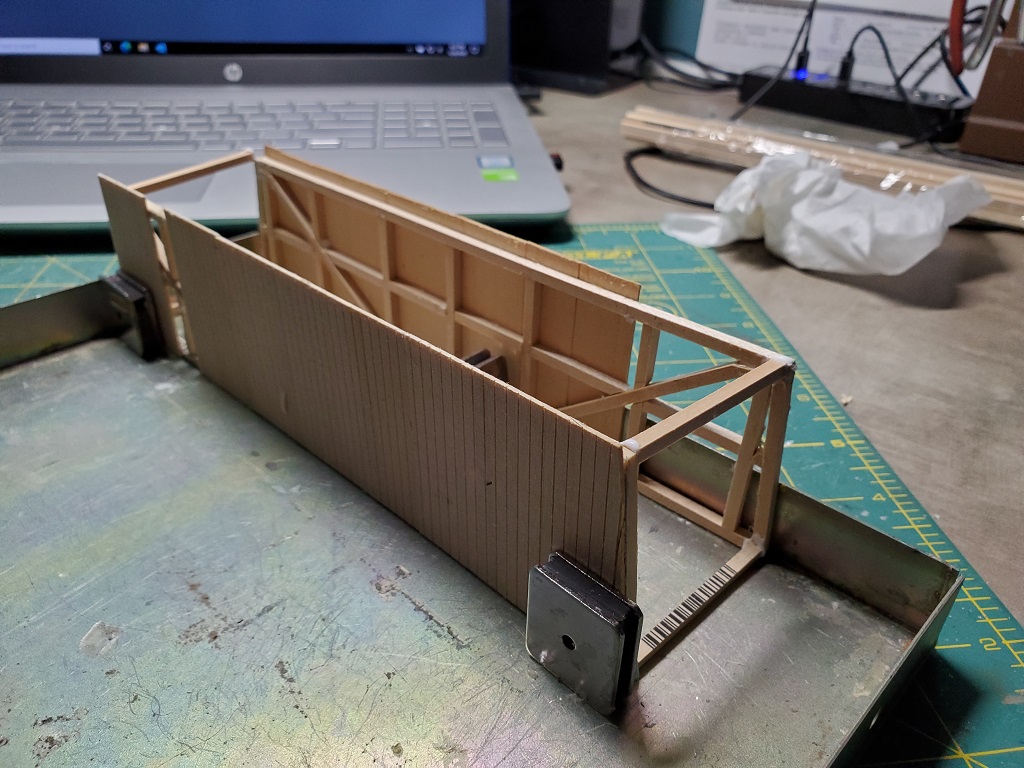
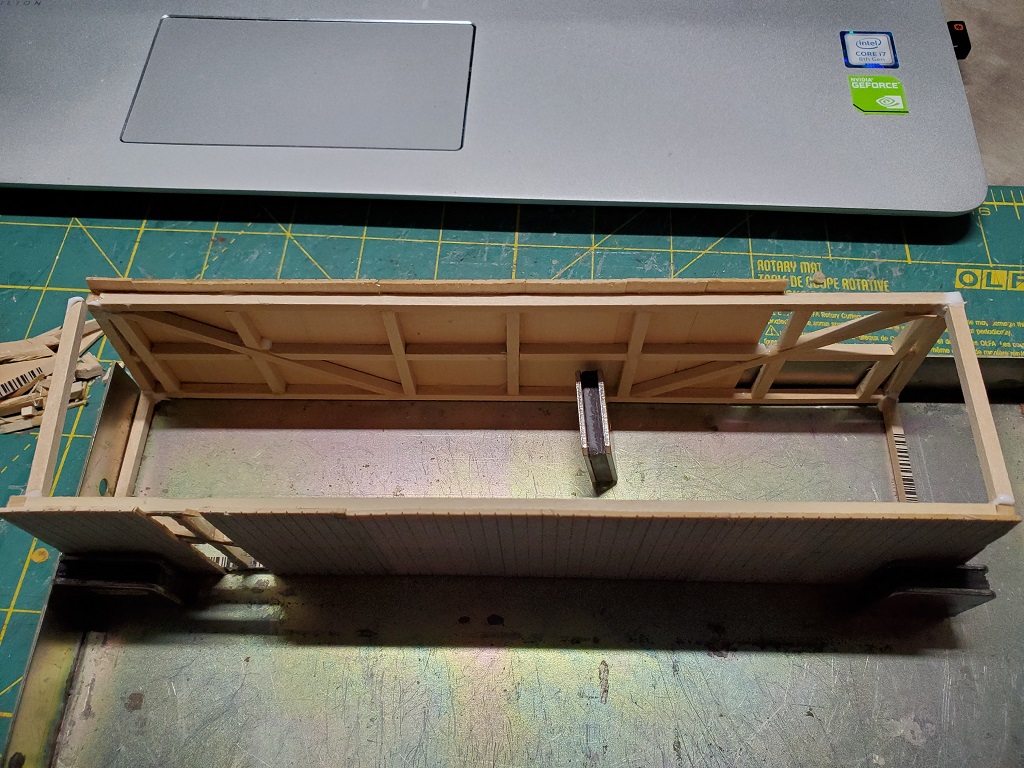
If you look at the trusses in these pictures you can see they were not built correctly. I had found out after building this more pictures how a queen post truss should be built. So I added this to my junk pile and started over. The queen post truss is suppose to build as seen in the next photo.

Clearly a different design. Now that I had the truss built the correct way I added the vertical siding, cut out the windows and stained them with a India ink alcohol wash. This wash gives the wood a weathered look.
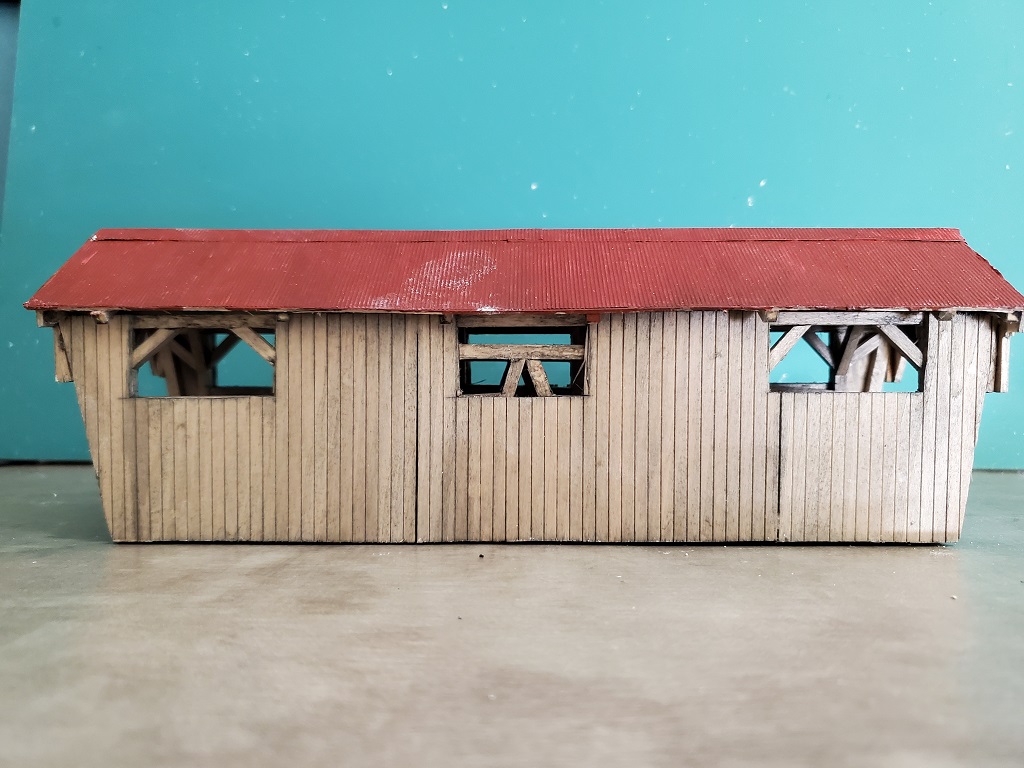
The roof in this picture has the metal on it, however I am going to create a new roof with wood single’s instead as that appears to be what was used back in 1870 when the bridge was first built.
Next I moved onto the power house. There is not any printed information I could find about the structure and how it was built. I have pictures from the internet, and my sister that show the back and one of the front however not a direct view. I searched the internet for more pictures and found the structure appears to have started with one building with an inverted V roof. An addition appears to have been added later with what appears to have a false front and a flat roof. Also there is a bump out added to the original structure on the bridge side with a window. That bump out is even with the roof in one picture, later apparently raised to many feet above the peaked roof later and then returned to tie in with the peaked roof. I decided to make the bump out as in the picture where its tied into the peaked roof line and not above it.
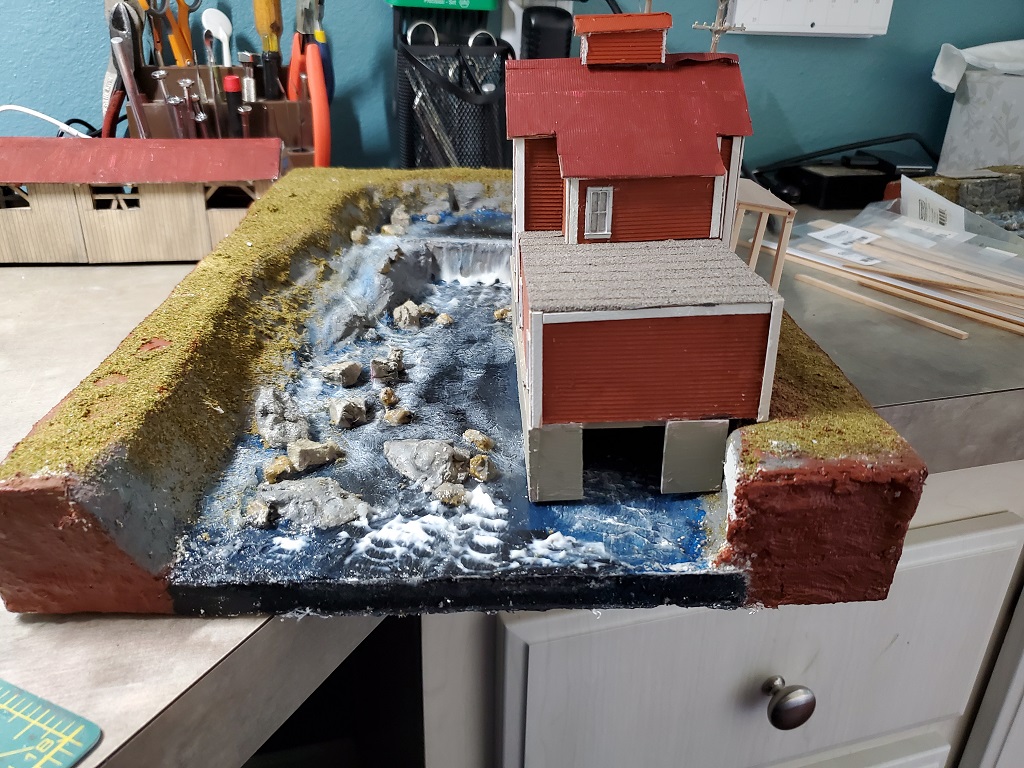
The power house building is sitting in the river on the back side and the front is built on the ground level. I recall a large water pipe running from the dam (apparently not the original dam which was built much closer to the building) about a quarter mile up the road. The water pipe directed water under the building where there apparently was a impeller which turned the generator to produce the electricity.
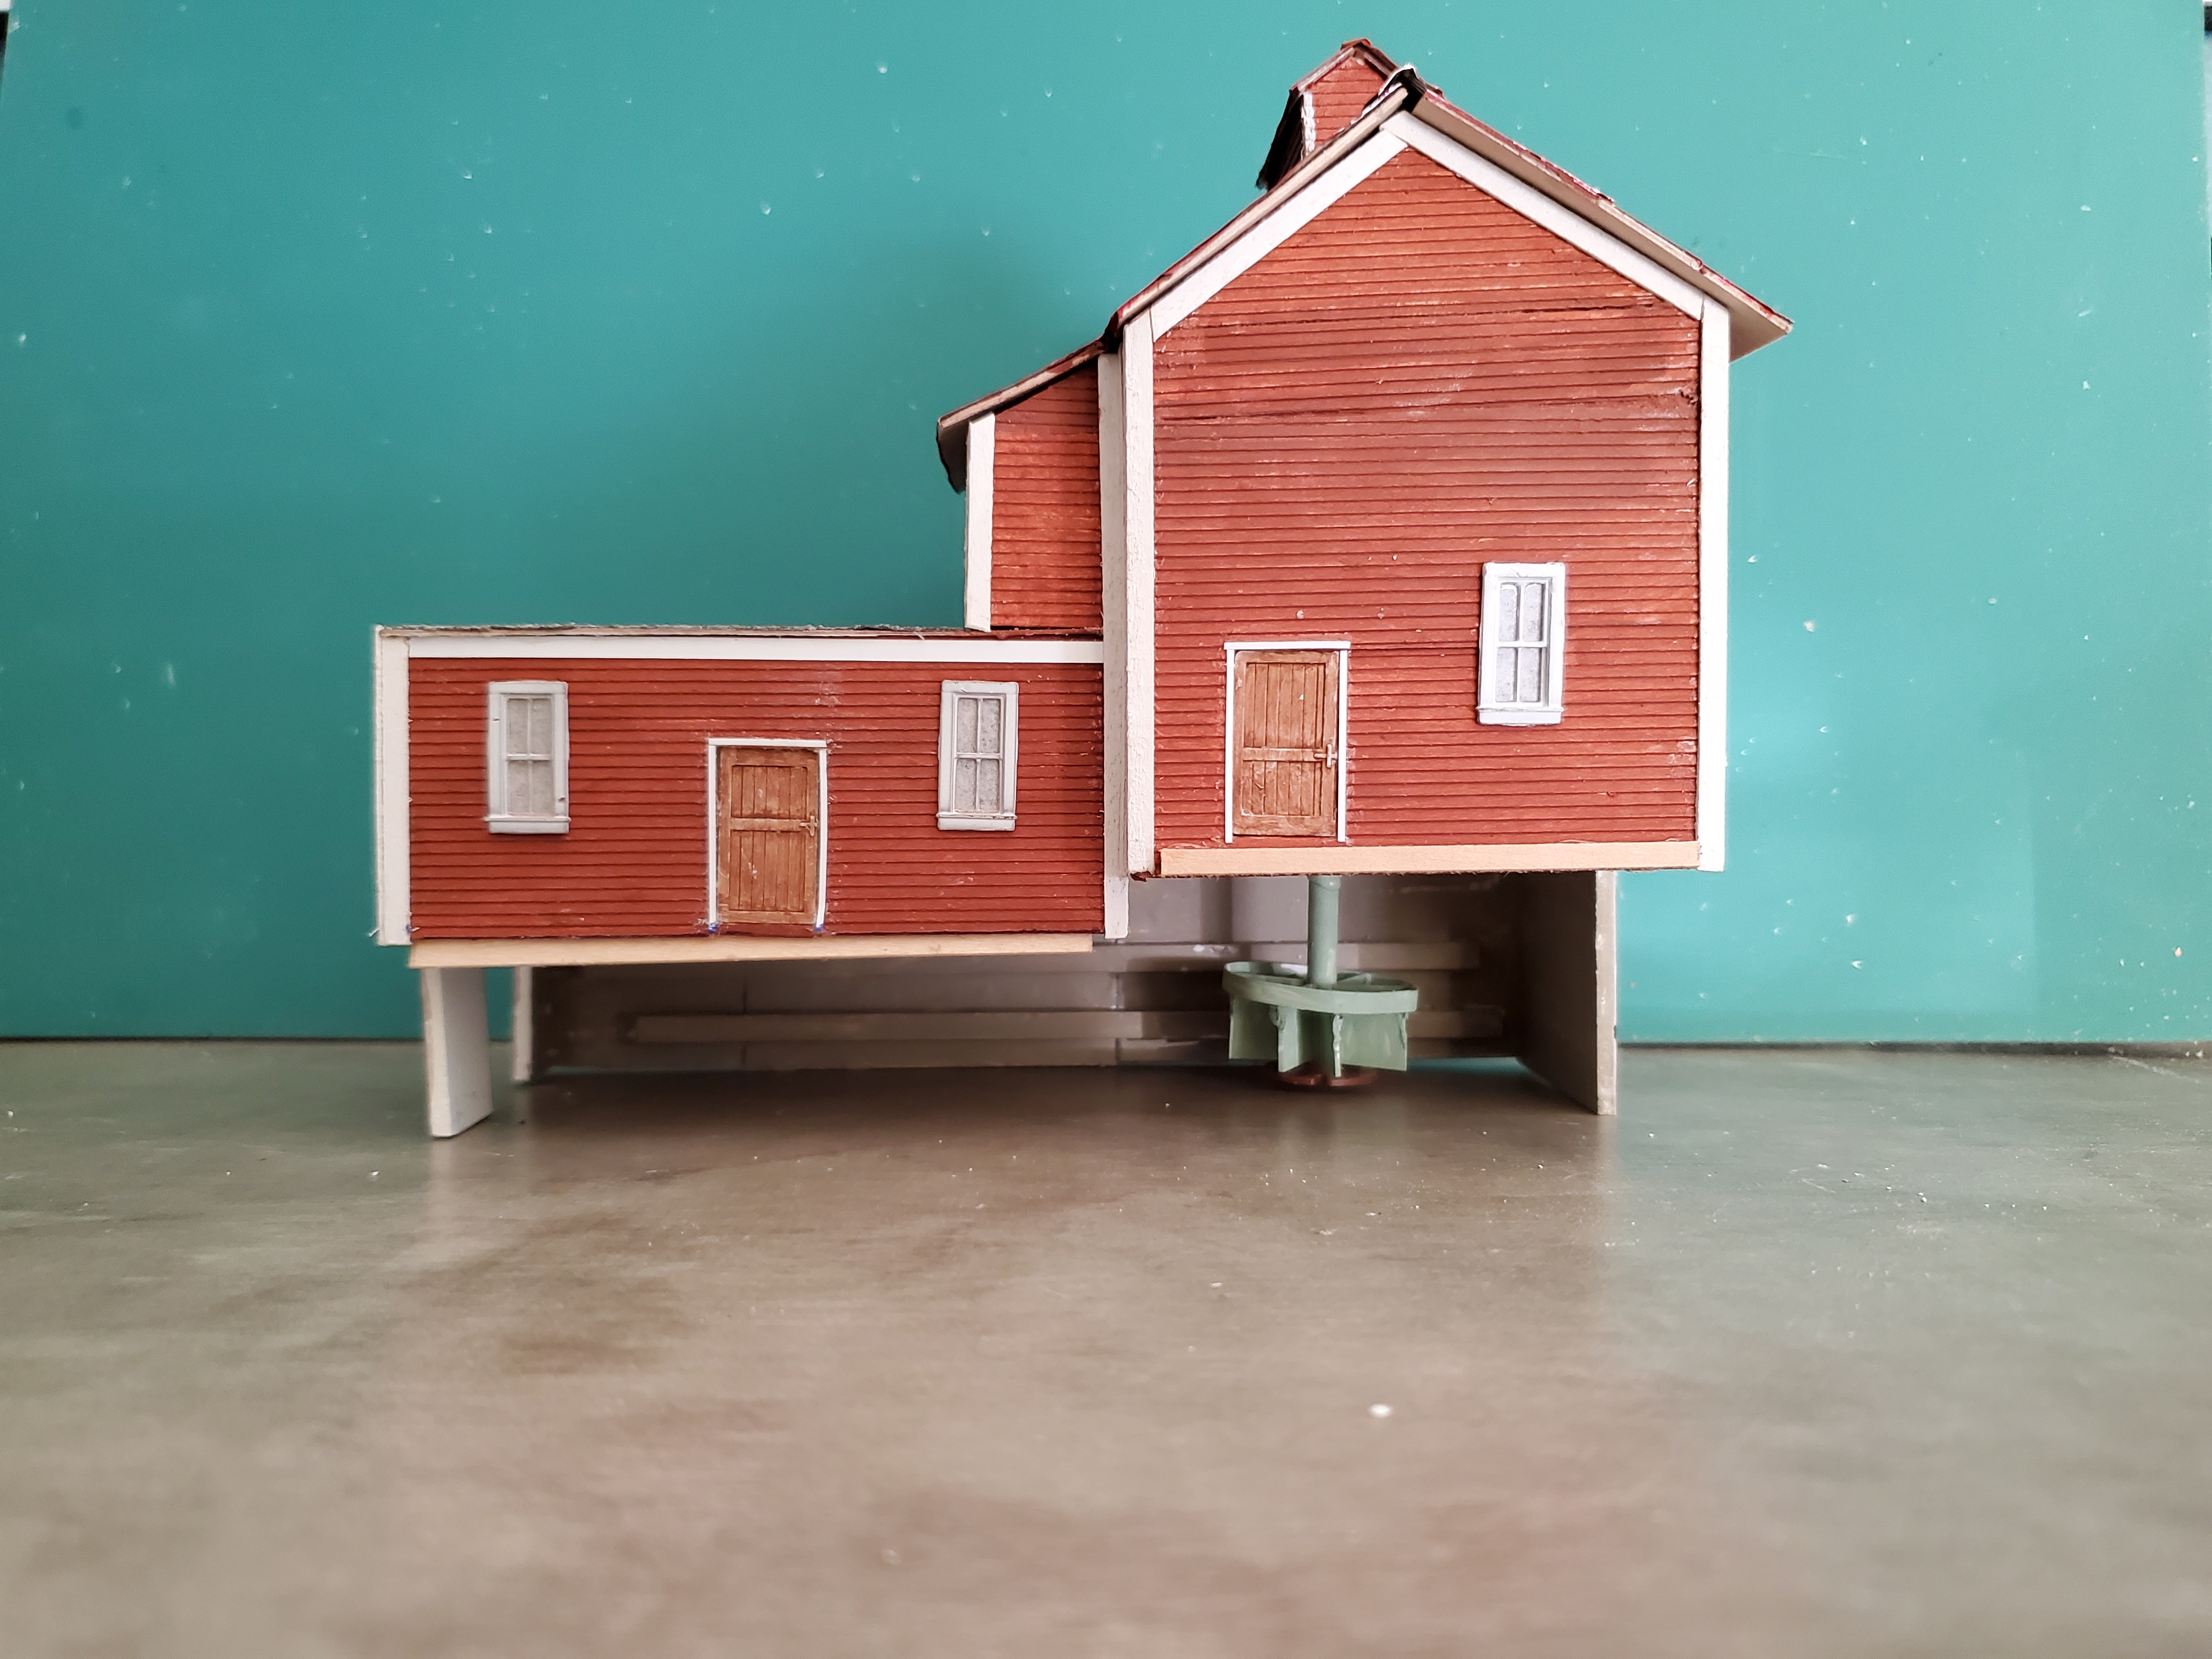
I wanted to simulate the impeller however there are no picture’s I could find so I used pictures of impellers that have been used on power houses in the past. You can see that at the bottom of the picture on the right side. I am guessing that was where the impeller was. On the left side there is an opening where the water exited the foundation.


A porch with a roof was also added at some point and I the above picture shows that.
Next was to add the bridge and power house to a diorama. I had to have an elevation high enough to show the river, dam and large enough to include the bridge and powerhouse. On a 1/2″ piece of Gatorfoam I glued on two pieces of one inch foam. One on top of the other giving me a total high of 2 1/2″ inches. I used a hand saw to shape the foam into a large “U”. The bottom of the “U” is river and the banks slope up to the top where the road and woods are. I covered the foam with plaster cloth and some plastermold, then painted it with a brown acrylic paint.
After I created this I found it could be a problem as it covers such a large space. Here is a picture showing the start of the diorama.

I decided to separate the bridge from the powerhouse and remove the road in front of the powerhouse. I also removed some of the space by the dam that would only be woods.
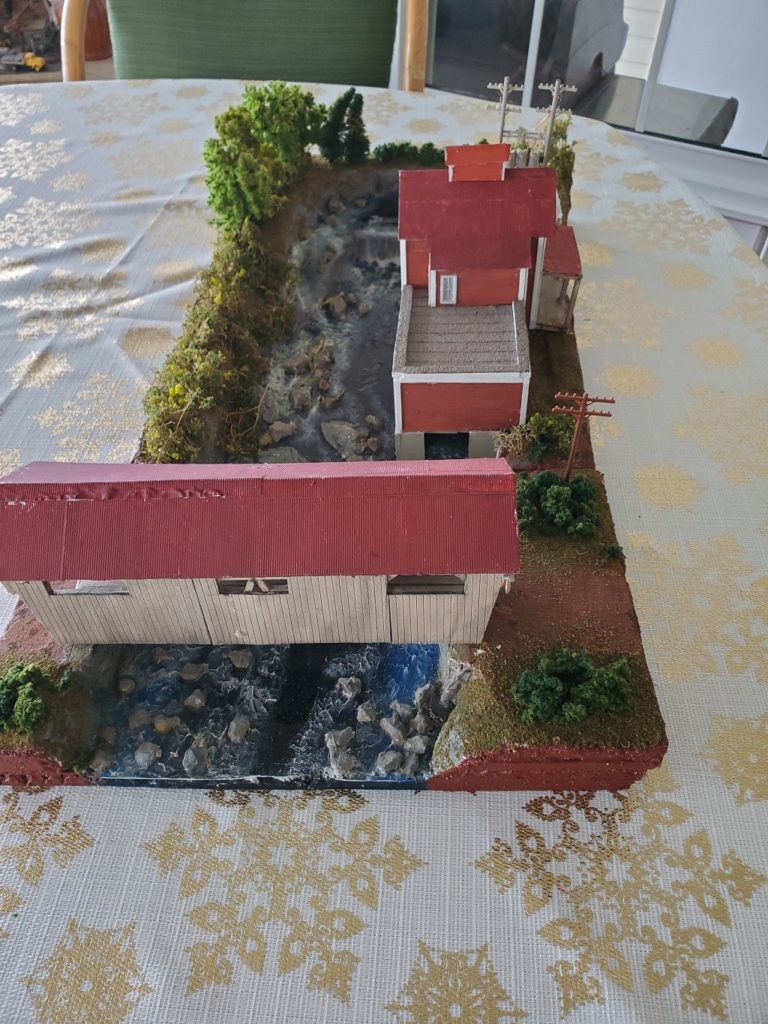
Using the same pictures I started creating the river and dam. If you have seen the actual river it is a very rocky with quite a lot of white water. I understand many kayaker’s like it because of that. Creating a river in model railroading is generally always done the same way. Dark colors in the center of the river and lighter as it nears the shores. I use black acrylic paint for the center and cerulean blue acrylic paint towards the shores. Blending them from the blue into the black. I created some of the rocks and others were rocks purchased from Woodland Scenics. The rocks were painted with Craftsman acrylic paint, light gray, tan, and dark gray. Once the paint dries and the rocks are glued to the river bottom. I poured Woodland Scenics Realistic Water and let it dry for 24 hours. Next I used Woodland Scenics water effects to create waves and swirling water. After that dries I highlighted the waves with white acrylic paint.
The last step is fitting the powerhouse building and bridge onto the diorama. The last steps are to add grass, weeds, trees and bushes. All of those are glued down using wet water (water with a couple drops of dish washing liquid) and watered down Elmer’s glue. I added details to the diorama. Power pole’s with transformers. A fence around the power substation, signs on the building and fence.
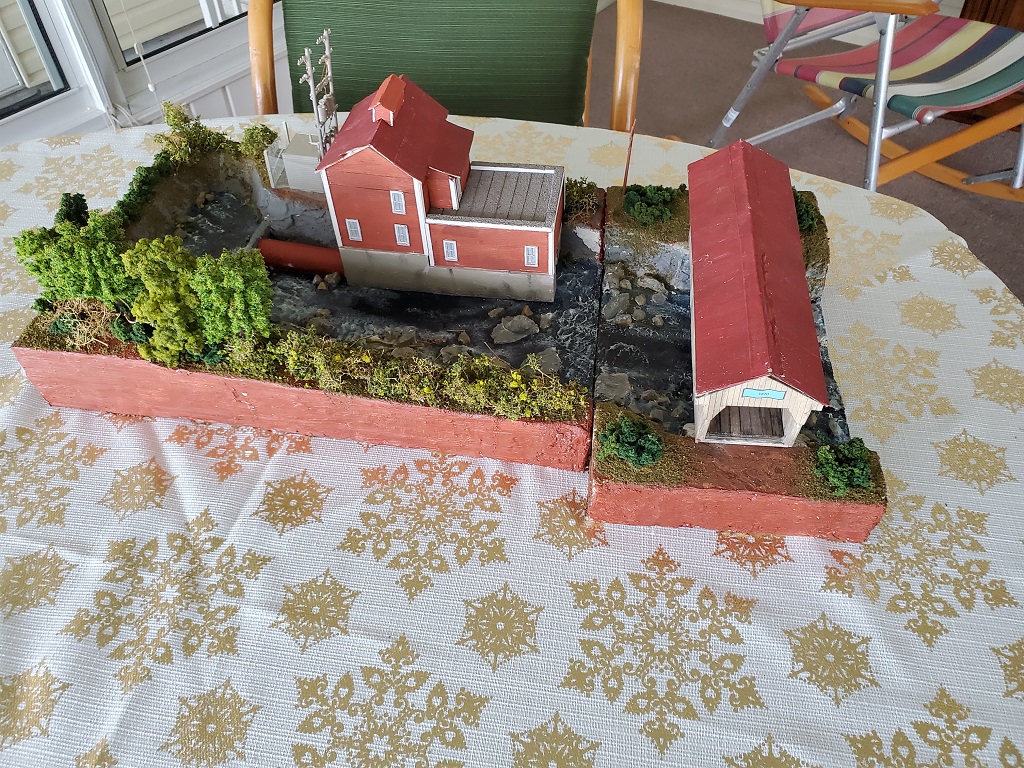
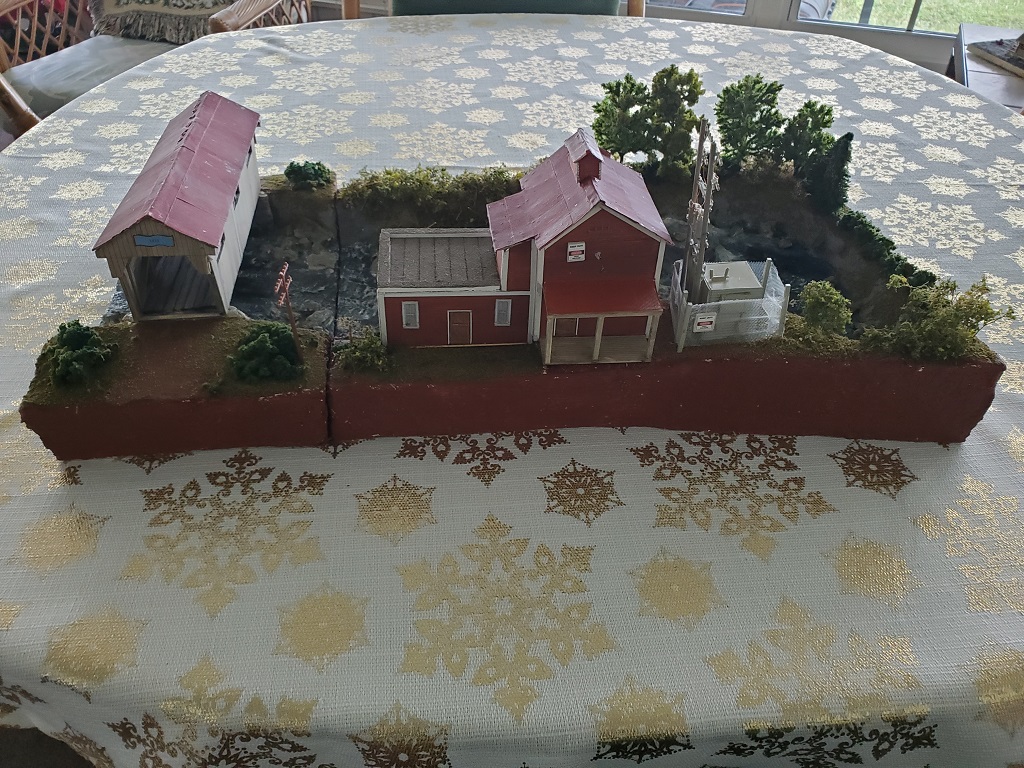
This project has been a lot of fun and I hope to give it to the Johnson Historical Society on my next visit.