May 1, 2021
Well I started a new model that Dave Myers sent to me. Its a Carolina Craftsman kit he purchased for me in payment for helping him with his website. The kit is Myers Mill in ho scale. It is designed as a logging mill and has the ability to be built either as just a flat diorama or as a multiply level. So far I have completed the flat diorama and now I am deciding if I want to make it multiple level or not.
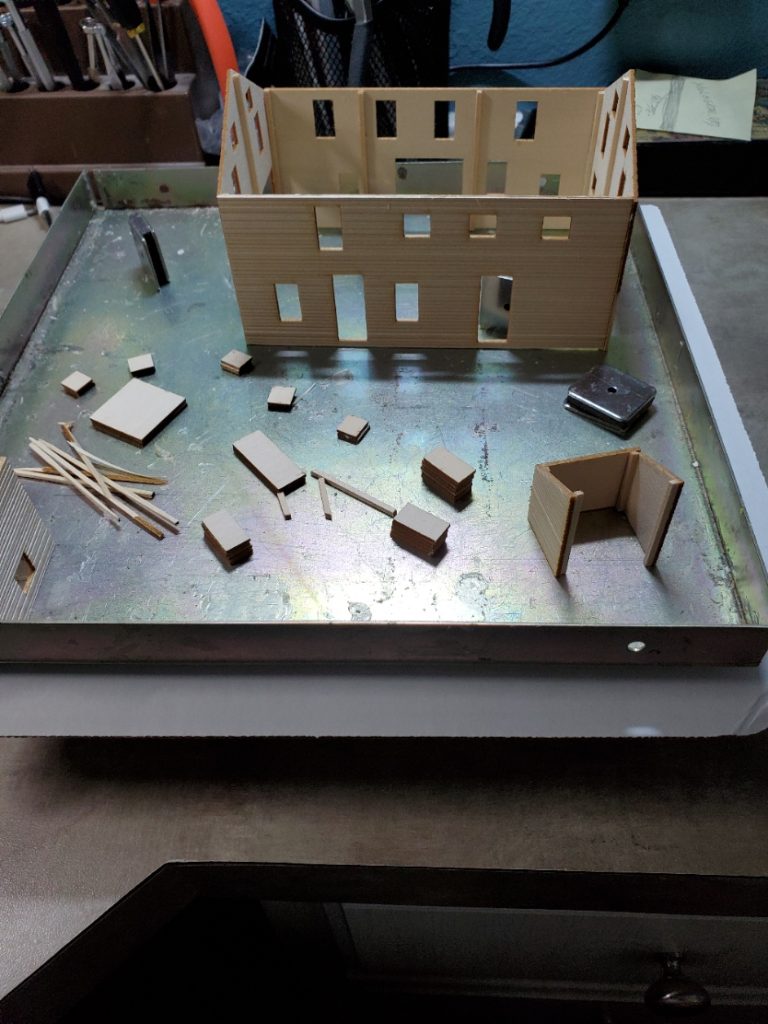
As I follow the directions the first thing to do is brace the walls and paint them with a base coat. Once that is done glue the four sides together. Here you see a picture of the four sides glued and clamped to dry.
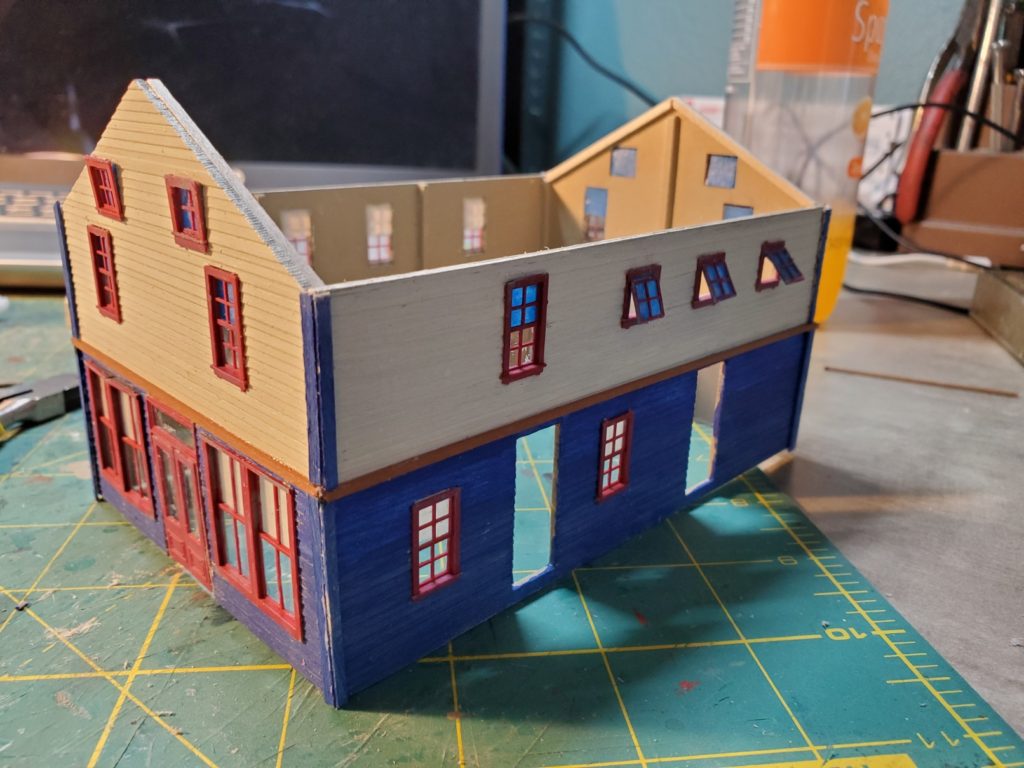
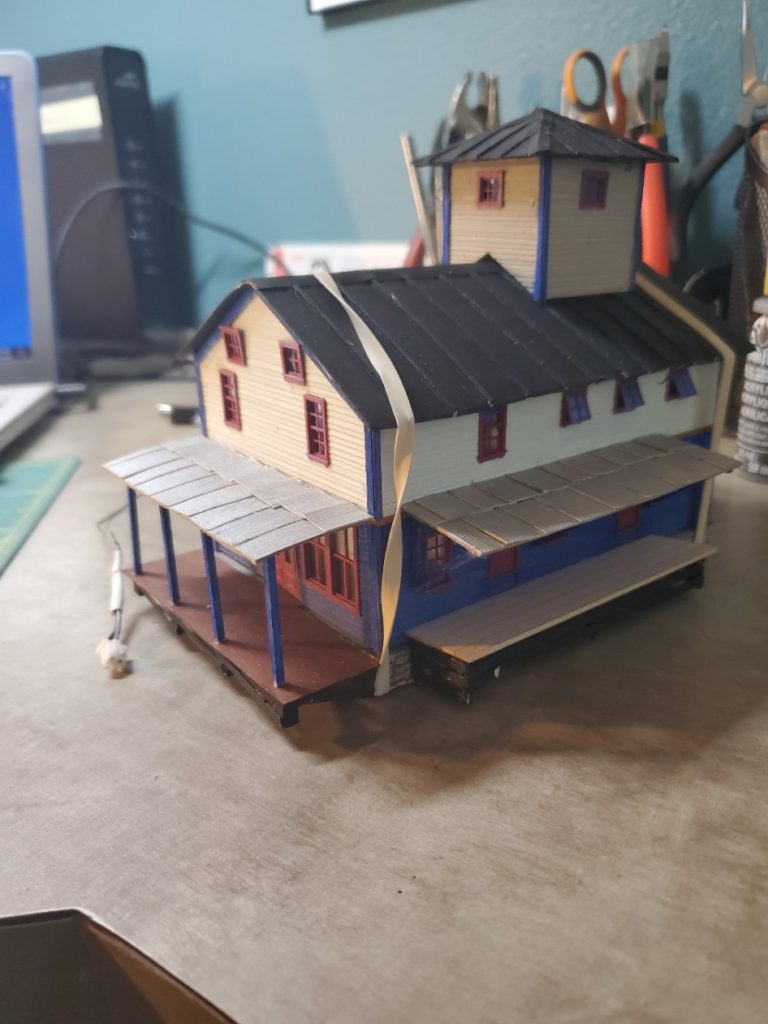
Once the sides have dried its time to move on to painting the sides, windows and doors. The kit suggest painting the building in two colors as well as a third for trim. I used similar colors that the kit suggested although not exactly the same. Instead of having the blue color only on the lower third of the sides I decided I want mine to be the lower half as a blue. I did paint the windows and doors a red color and the trim a blue color. The upper half I painted a cream color. This is a picture of the building with colors painted.
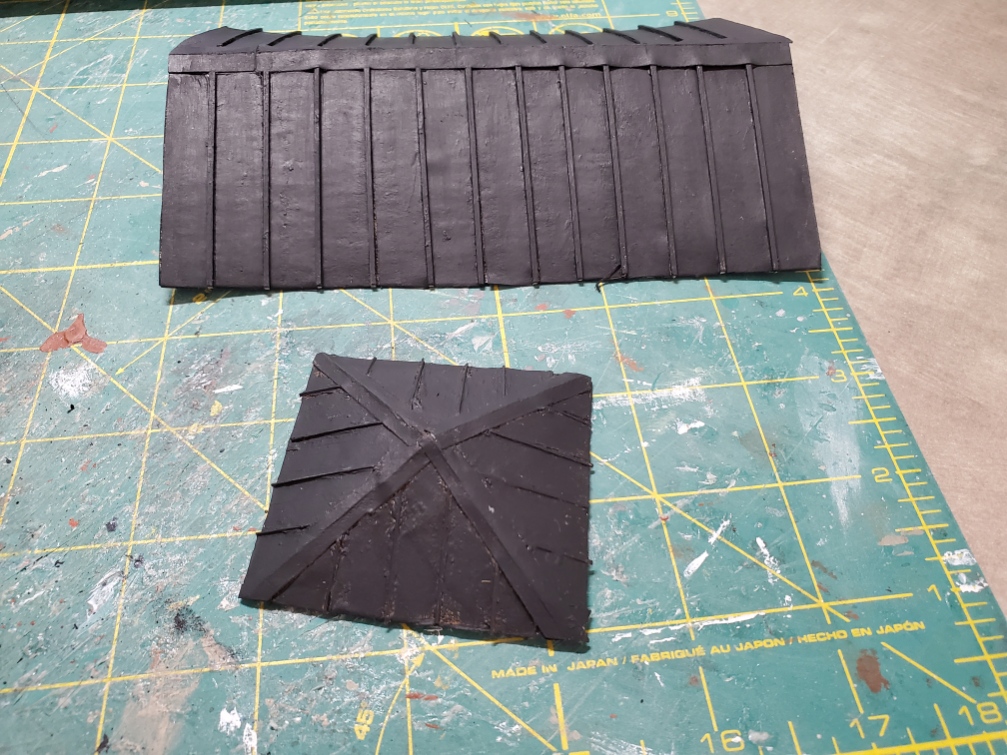
One of the next things to do was to build the Cupola and paint that. As its only a four sided structure this was an easy task, however the next thing to do was to work on the roofs. I found it a challenge to make the roof for the cupola. It has four sides that meet at the peak so all four sides have to be the same. After many tries I finally figured it out. A template of the pattern would have been helpful. I will let Dave know. Once the roof has been created it’s time to add the roofing. The roofing is suppose to be standing seam metal roofing painted black. The kit has the material for the base of the roof, (a type of cardboard), which I used however, I would have preferred to use the 1/16″ plywood. I think the plywood is much sturdier but I’m trying to follow the directions in the kit. Here are pictures of the roofs.
Next comes the installation of the windows and doors. The windows were first given a piece of glass (clear plastic), and shades (colored masking tape), then installed in the laser cut openings. They fit perfect. I left a couple windows open just for the fun of it. Doors were added to the front of the building as per the instructions, however when it came to the doors on the side of the building they were the wrong size for the opening. I added the doors and had to add a piece of the siding to fill in the extra space. Not sure which was the mistake the opening too large or the doors the wrong size.
Next on the build are the decks. The decks on the front and side of the building have roofs. I followed the directions for building them and they were then glued to the building. The roof on the front of the building uses post to support it. That went ok as the instructions were right on. The roof on the side of the building is supported by wood angle braces. A template would have been useful for creating them but in the end that are not that difficult.
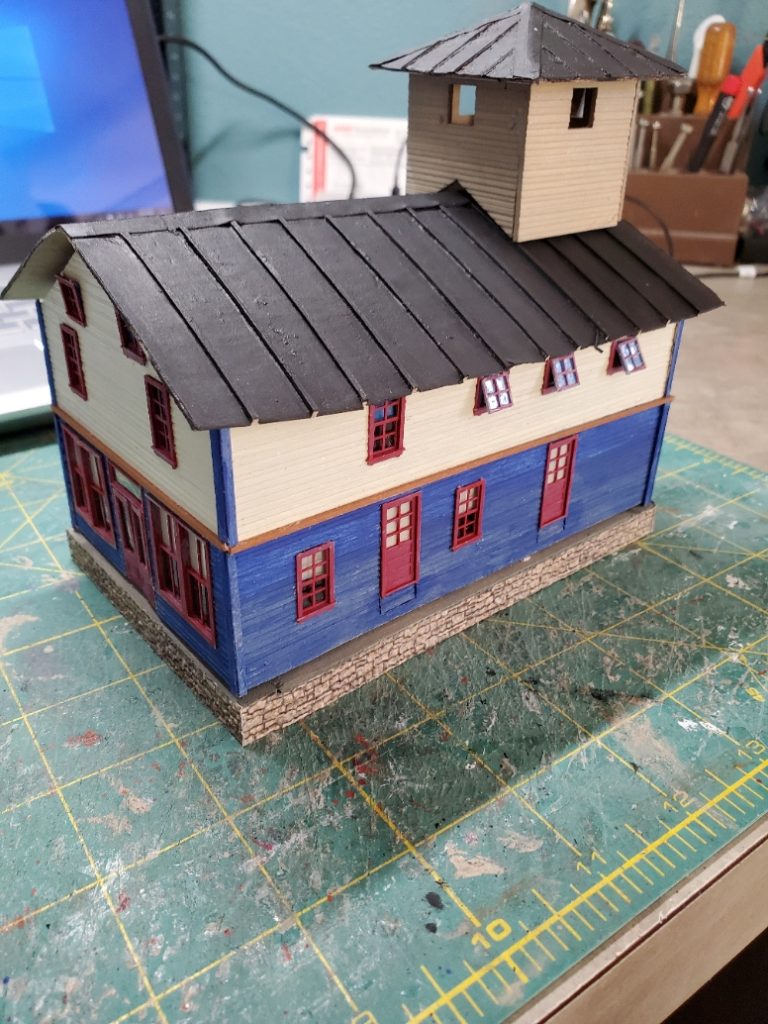
The building sits on a foundation that is covered with a stone patterned section of plastic. The foundation pieces are larger than what the instructions say they are so the building sits a little bit higher than it should. Overall that does not cause problems other than trying to find the right pieces of strip wood noted in the instructions. It would also have been helpful for the builder if the instructions had referred to the piece of strip wood by the colored tip. Once the decks and roofs have been added that pretty much finishes the flat model. Here are more pictures of the build up to that point.

Now is the time to decide if I am going to make this a multi level mill or leave it as it is. One thing I forgot to mention is I added lighting inside as well as some pictures of a woolen mill interior.
May 13, 2021
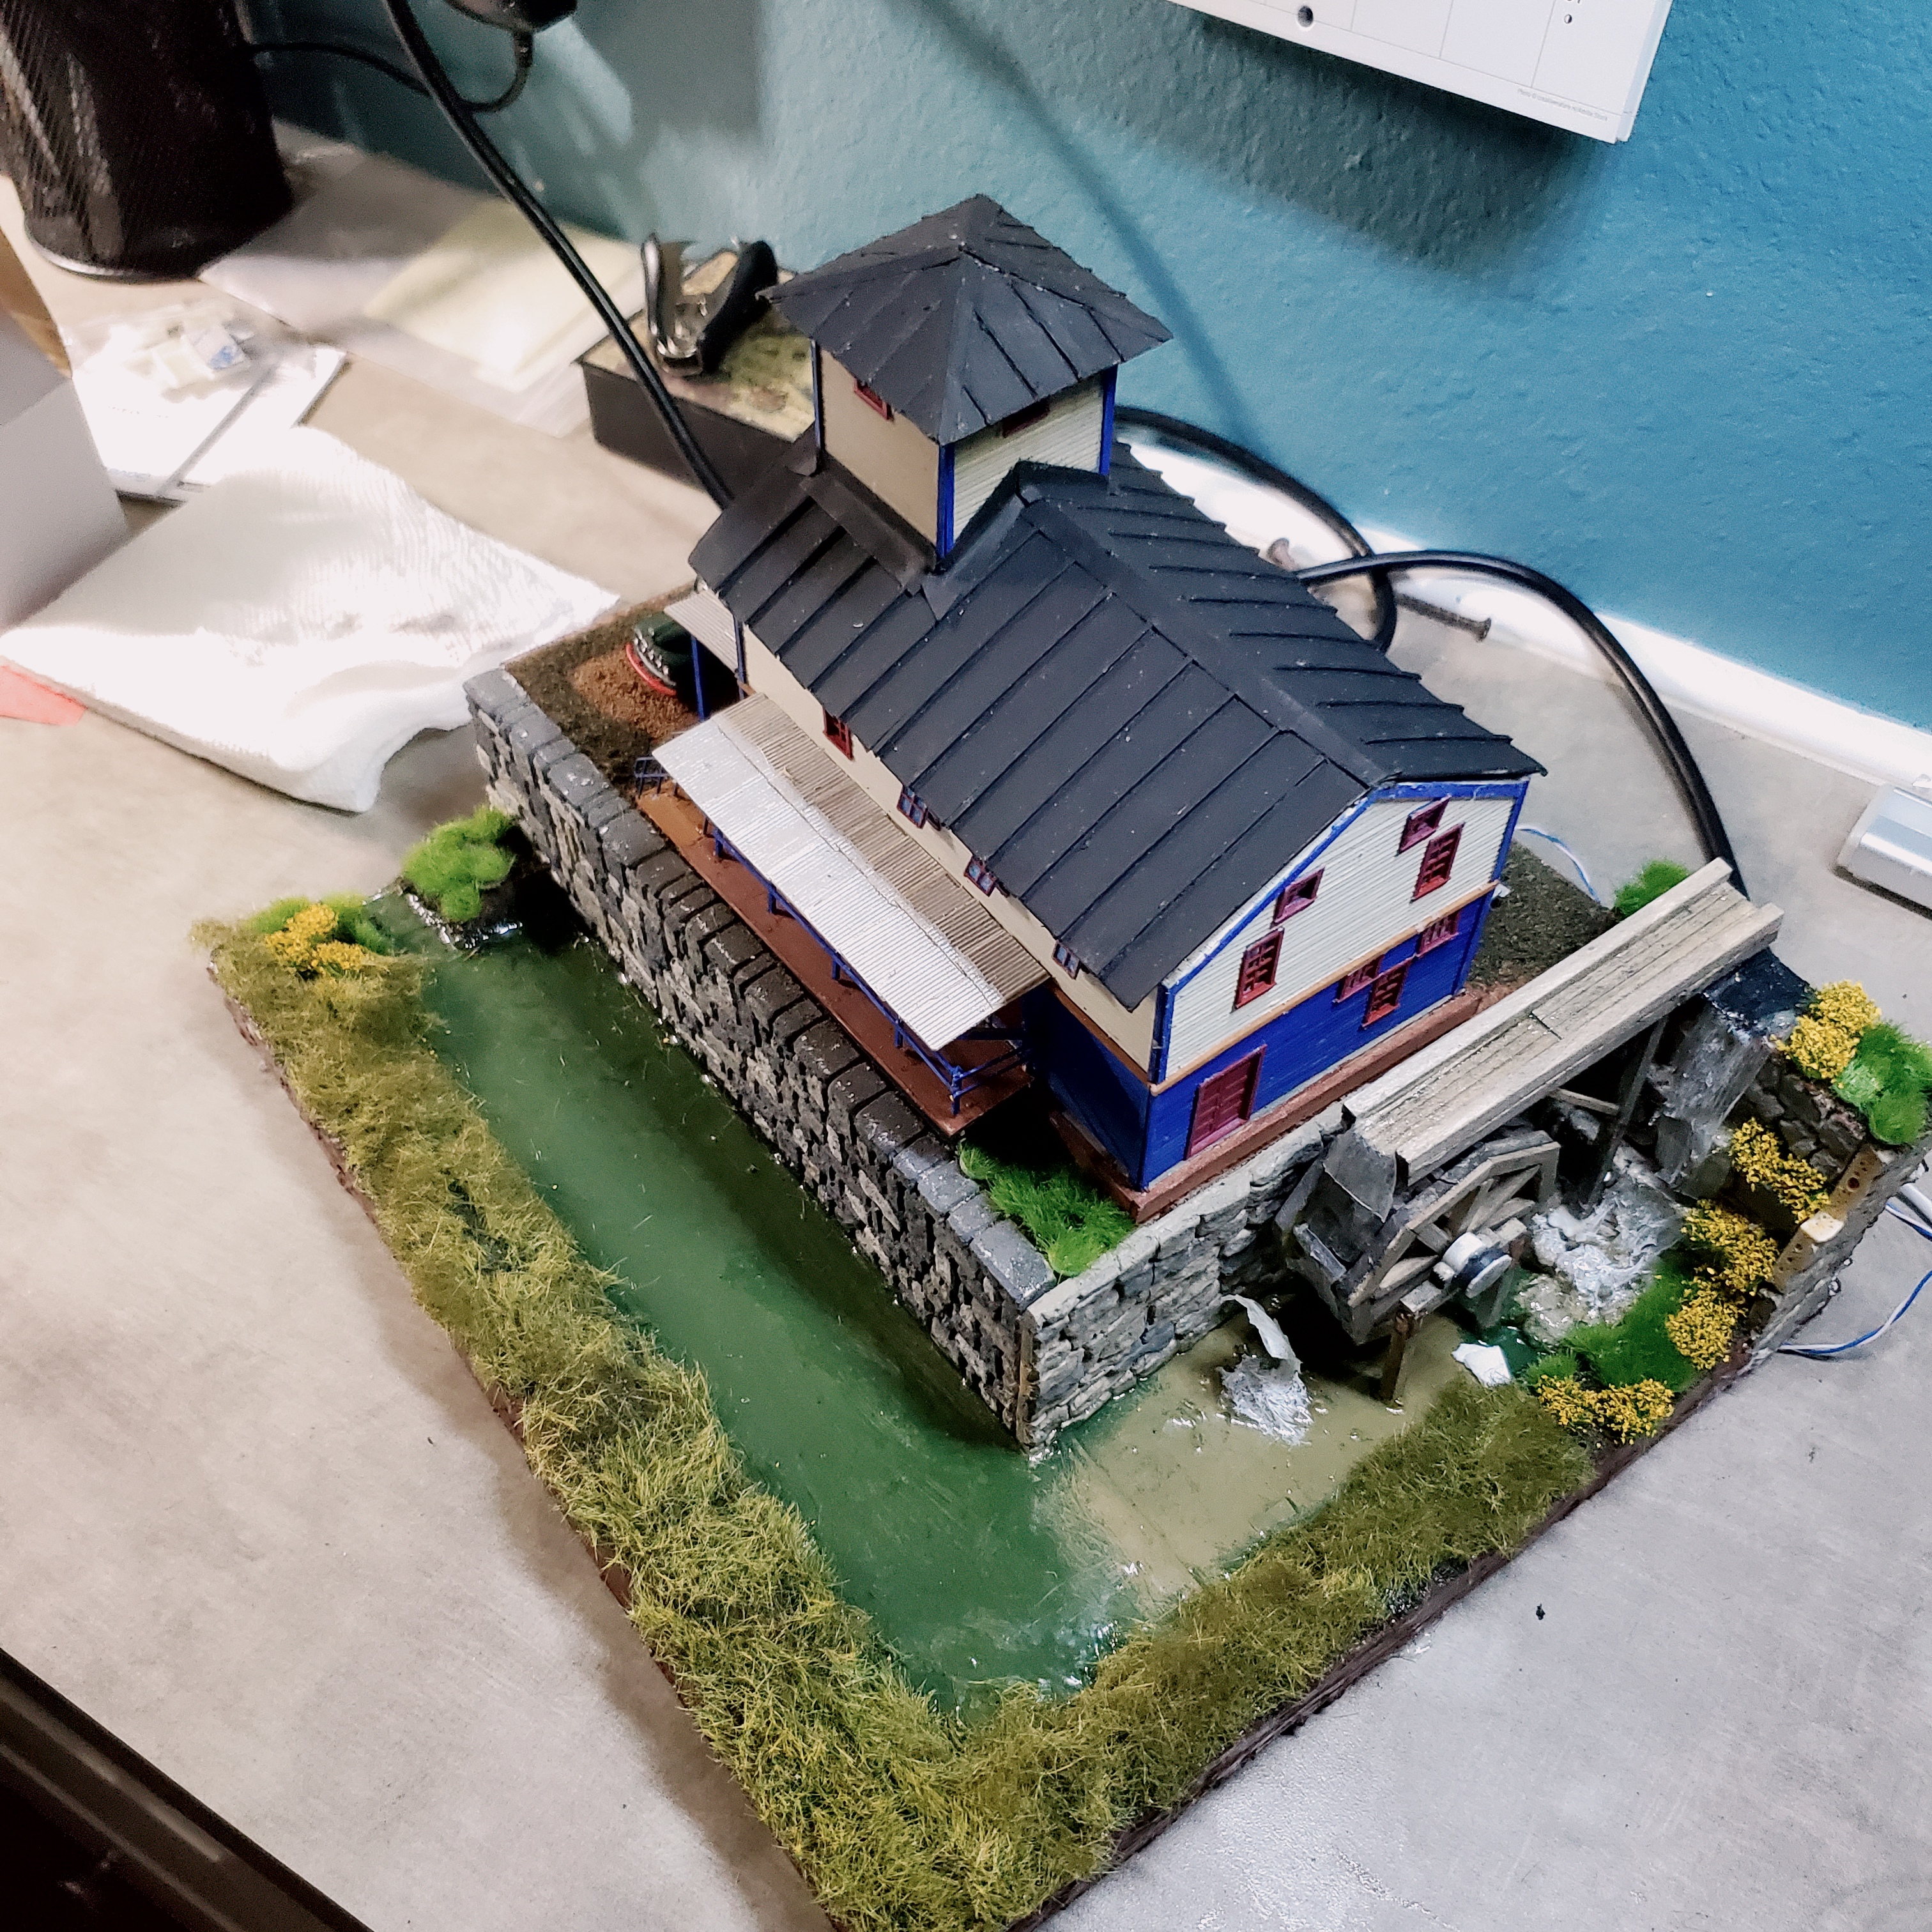
Well I decided I am going to make this a woolen mill next to a waterfall using water power via a waterwheel. I made a small waterwheel which you will see in the pictures, however I think I will use a larger one that I have ordered from Carolina Craftsman Kits. I also have decided I am going to make the waterwheel motorized with a pulley system on the upper floor of the building. I have some parts coming that I think I will be able to use to make this. I added some pictures and people on the lower floor working and installed a temporary floor over them where the pulley system will go. (hopefully). As you can see I created a second level using 3/16″ Gatorfoam and installed the stone wall that came with the kit on the front of the diorama. I also added some stone wall on the side where the waterwheel will be installed. At the back of that wall I created a small hill where the water will be flowing over the stone wall as well as going through a trough over the waterwheel. The water will be muddy around the wheel and weedy around the pond. Here are a couple pictures.

July 7, 2021
I added some field grass to the edge of the water on the diarama. You should also see I have water also poured. Making some more progress.
July 4, 2021
I have done some work on this model, however a vacation and other duties have slowed the progress. I found a geared motor on the internet that I have installed to turn the waterwheel. My plan was to not only turn the waterwheel but also some pullies in the upper floor of the building. Not sure the pullies are going to work out but the motor turning the wheel is doing really well. I also have painted the water base and poured the water. It looks good. I decided to add some foliage around the water. Here is a picture of the building with the waterwheel so far.
October 30th, 2020
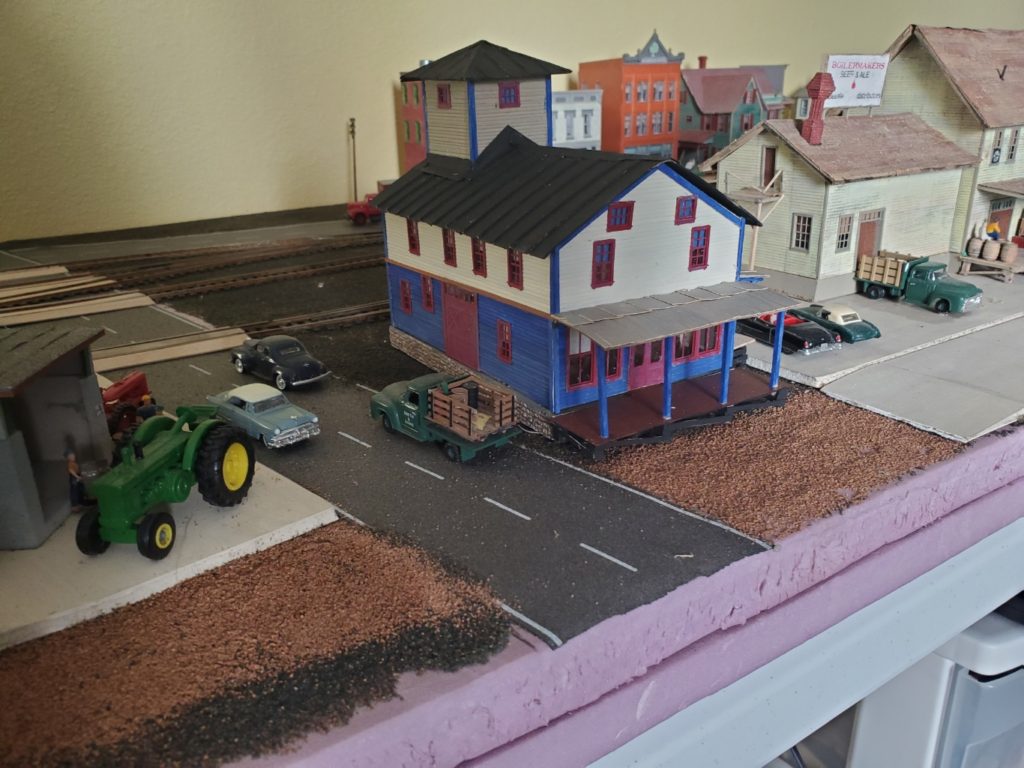
This building has been completed. As I said before I don’t like the chimney as it does not appear to enhance the looks of the building. I have displayed it in my home and placed it on a 3/16″ piece of gatorfoam. I decided it is a furniture outlet and added some shapeway furniture. I like the building. Looks really good.