April 2022
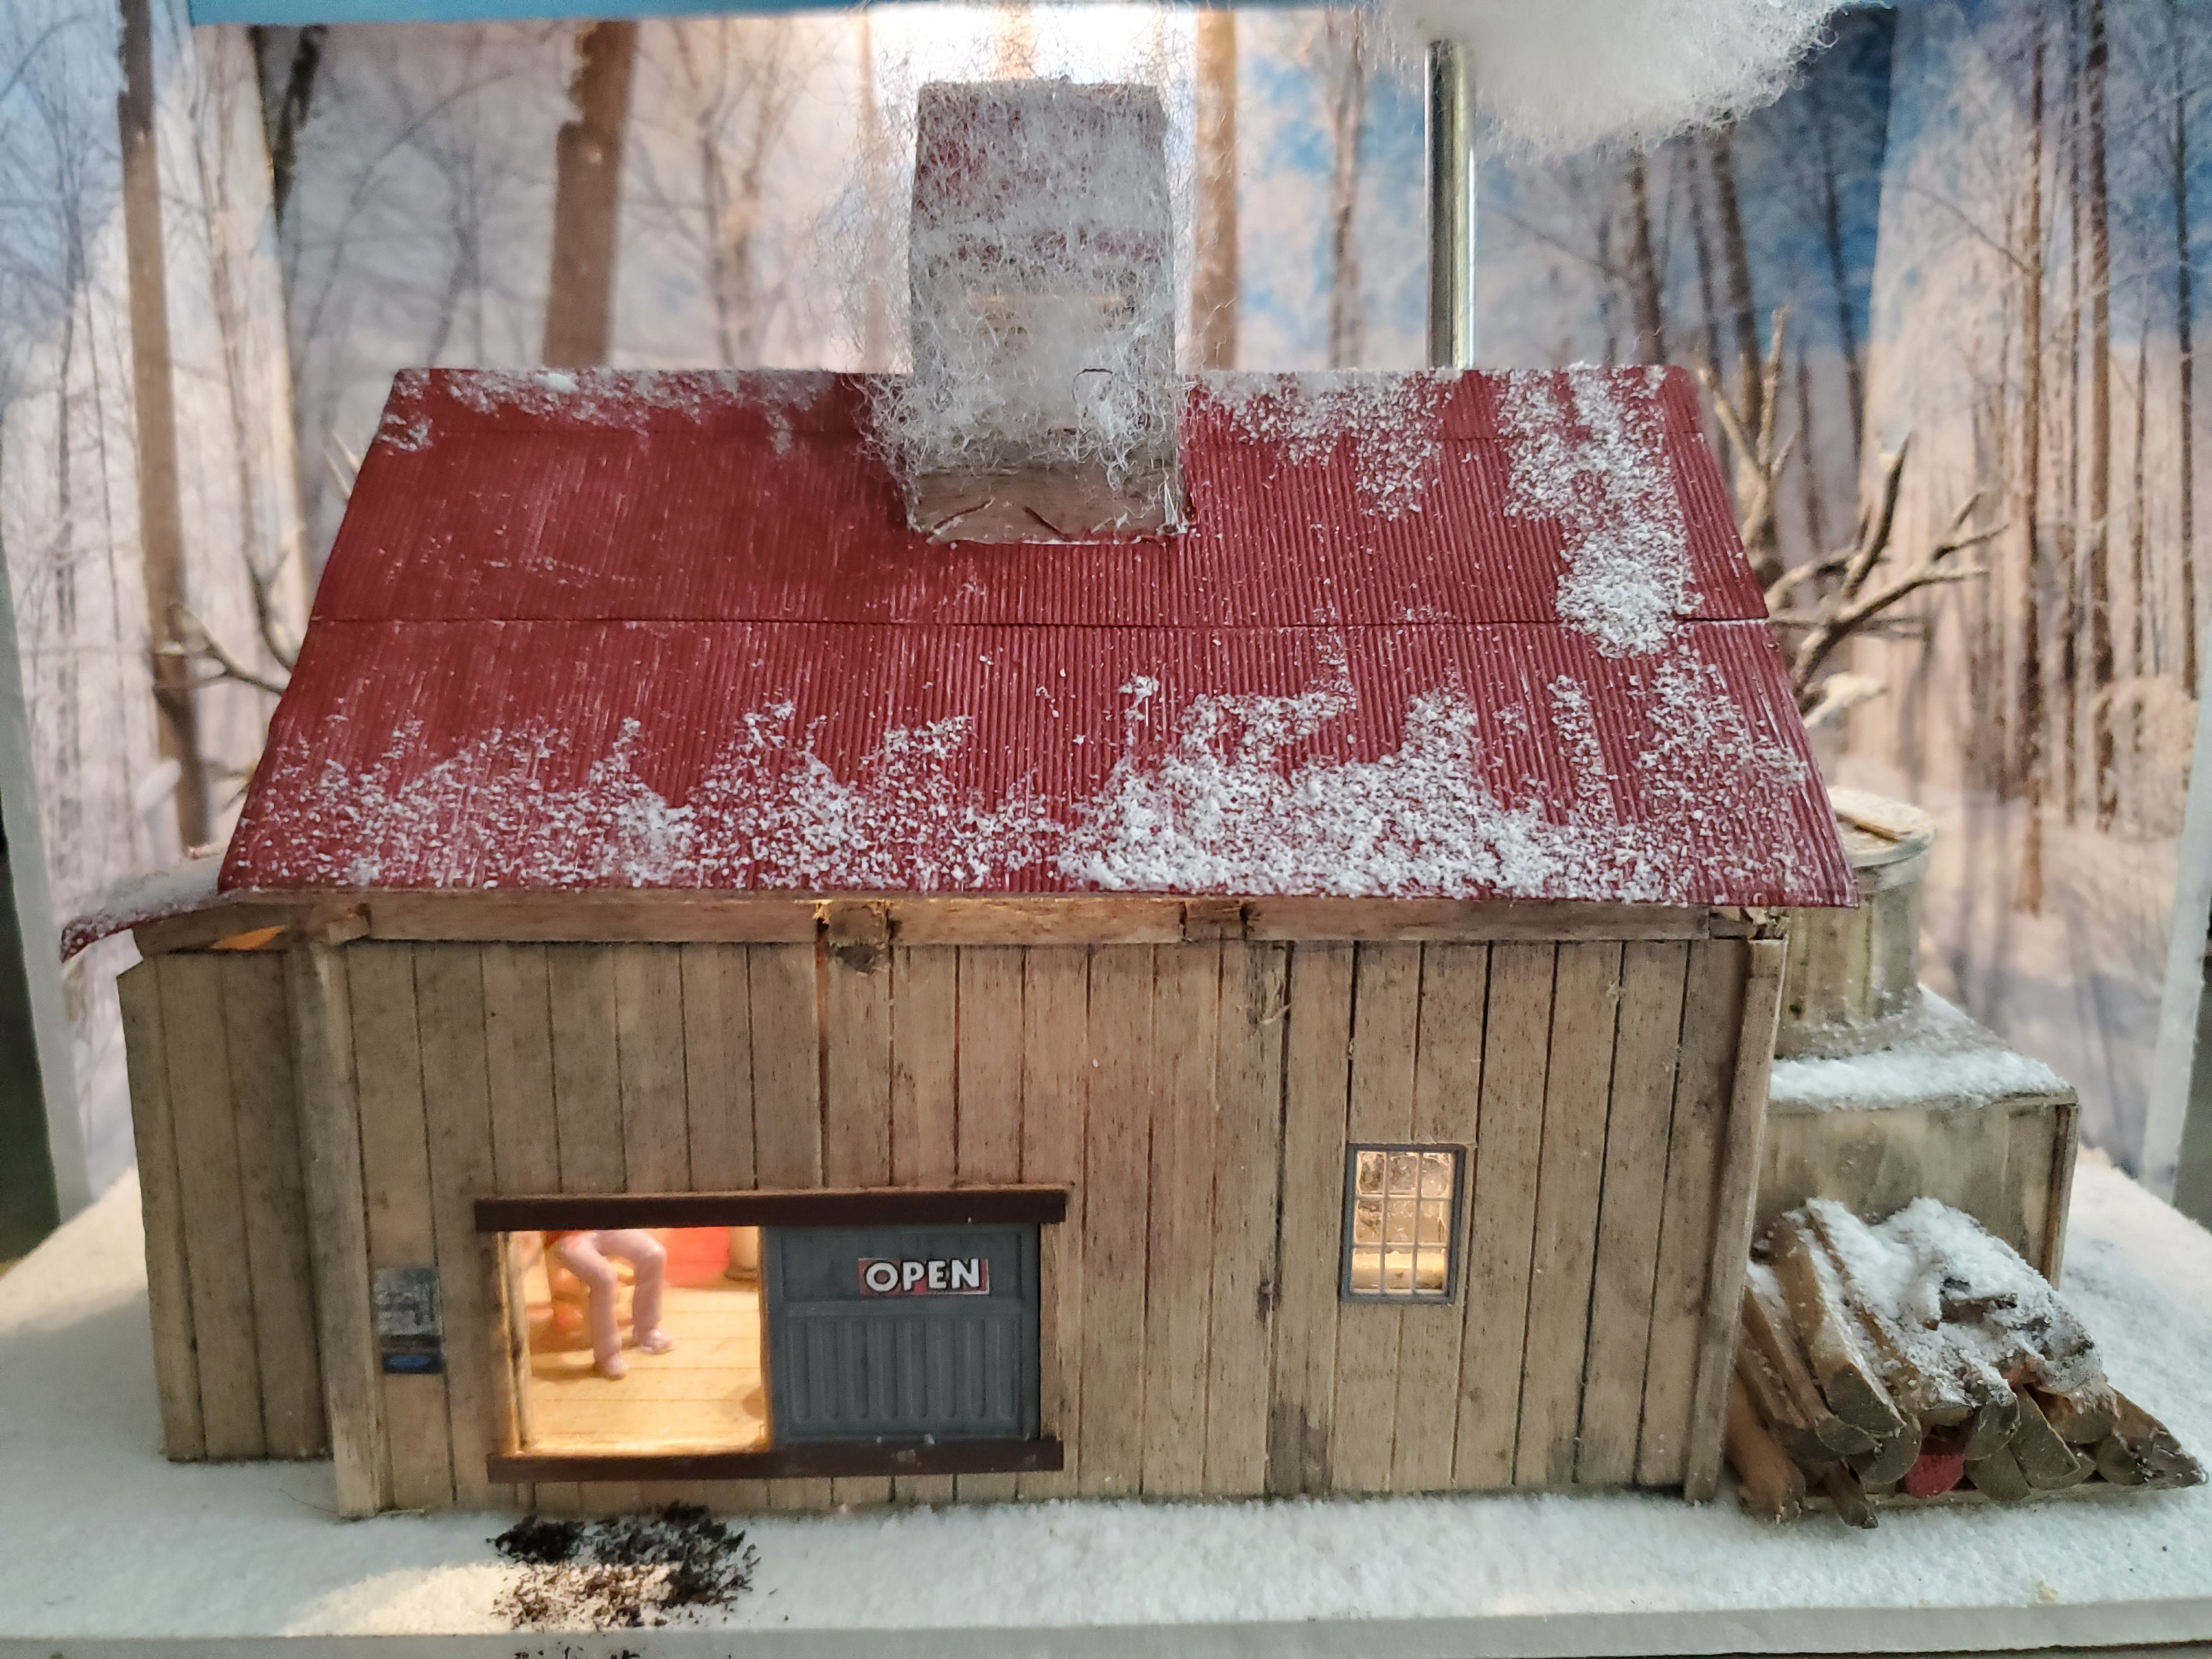
My sister Barbara said she and a friend of hers are visiting all the sugaring shacks in Johnson Vermont and it would be nice if they had a model of a sugaring shack to present when they finish their story. I decided I would build a sugar shack, not one of any of the actual sugar shacks in Johnson, Vermont but one that I felt represented most sugar shacks during the 50’s.
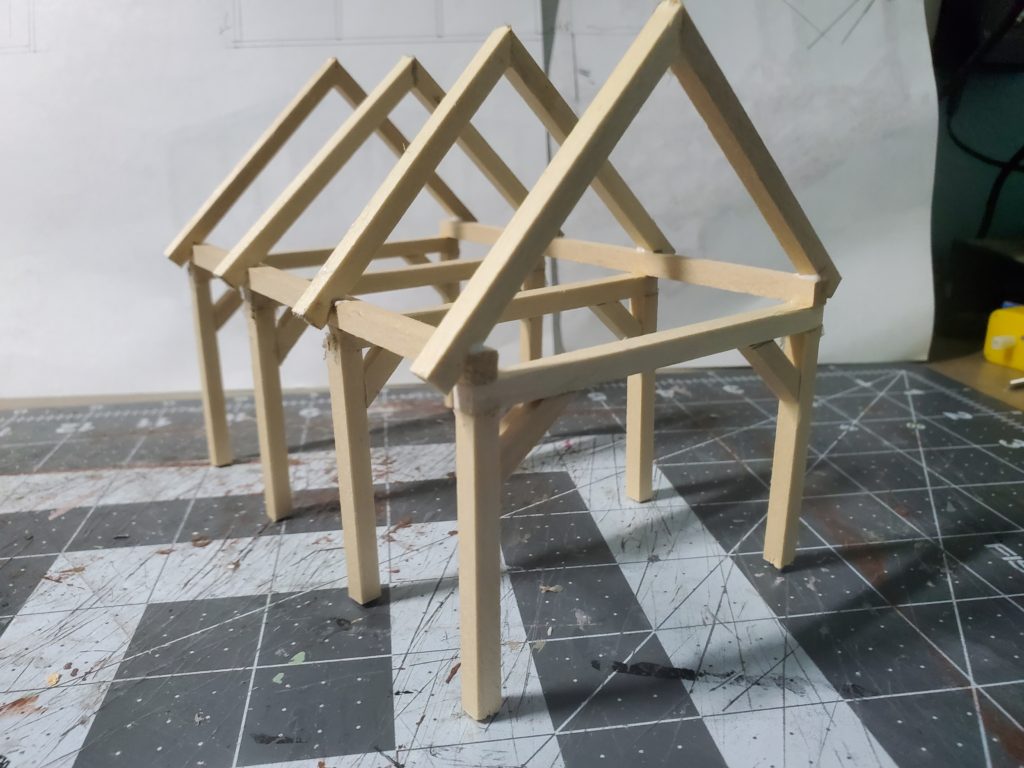
I started with the frame structure. I’m sure most sugaring buildings did not use post and beam, but I decided it would be an easy to start.
Here you can see a picture of the frame.
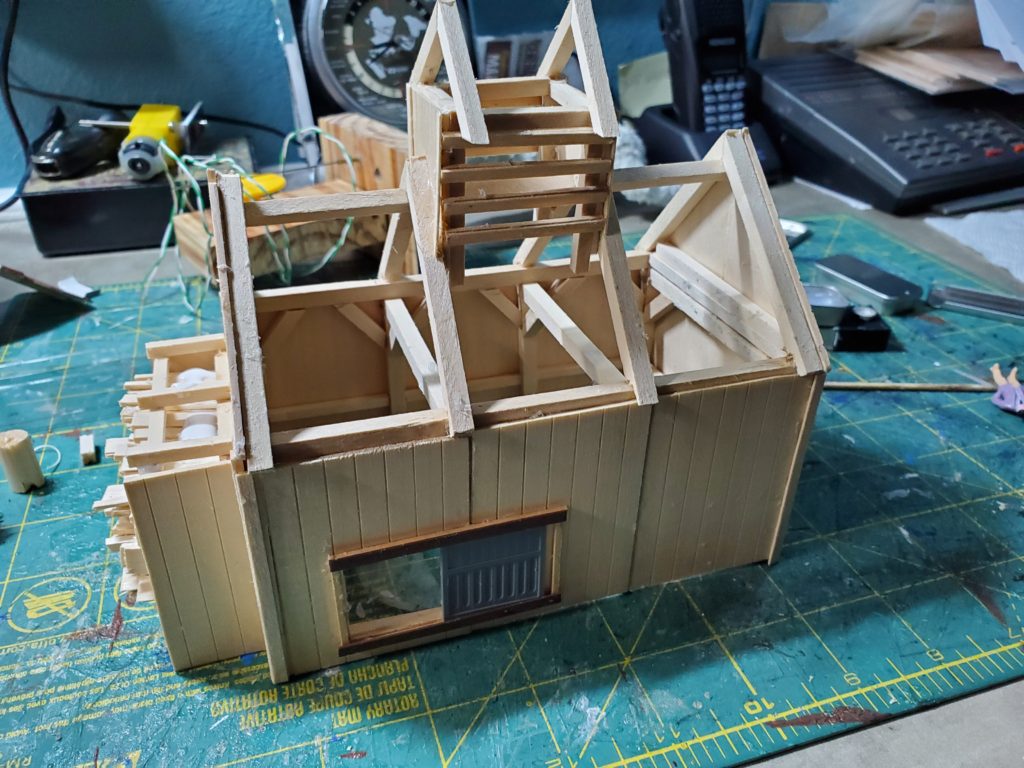
Now that I have the basic frame I needed to add some wall’s. I also needed to work on the interior as my plan is to not only show the outside but also show the boiling process. Here is a picture of the walls.
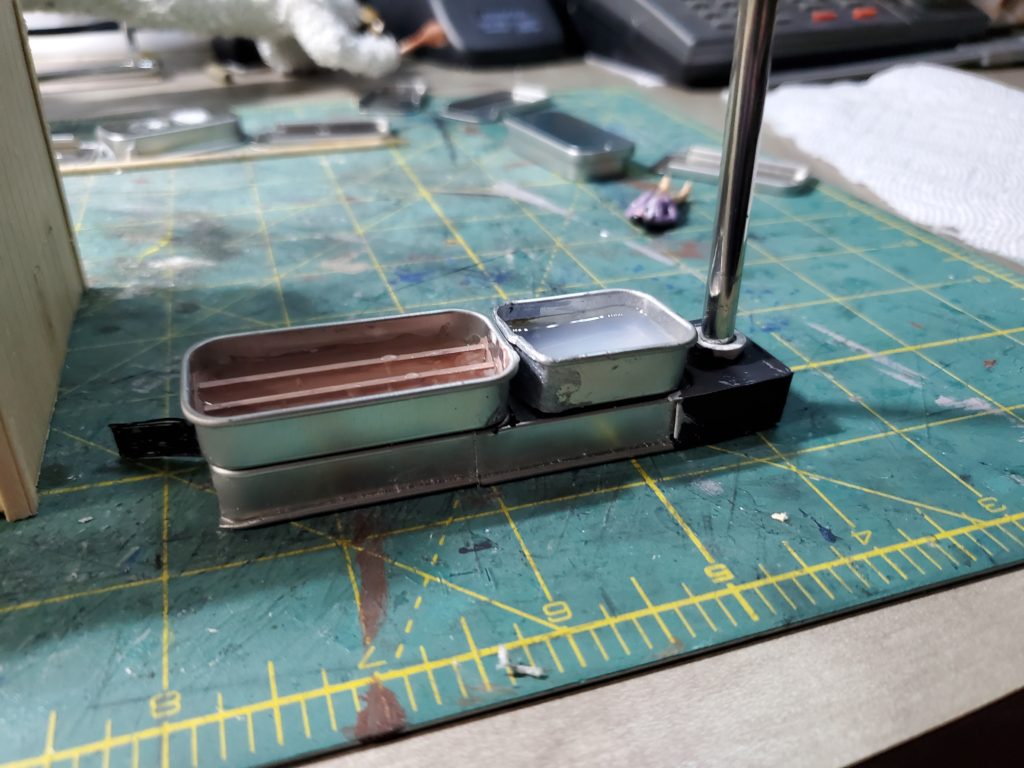
My first attempt to make boiling pans was to use plastic styrene and paint it silver color but that did not work. After playing with other idea’s, I finally decided to try using metal tin boxes. I found some on the internet and ordered a half dozen. I removed the cover which was a slide off top, and inserted styrene strips in for the dividers. by cutting and reshaping I was able to make one smaller for the pre-boiling pan. I also used a couple of the tins for the stove box. I installed a light to represent the fire in the firebox with a battery and on off switch accessible on the outside.
This is a picture of the boiling pans on top of the stove and a chimney at the end. I used a metal straw for the stove pipe.
April 2022-May 2022
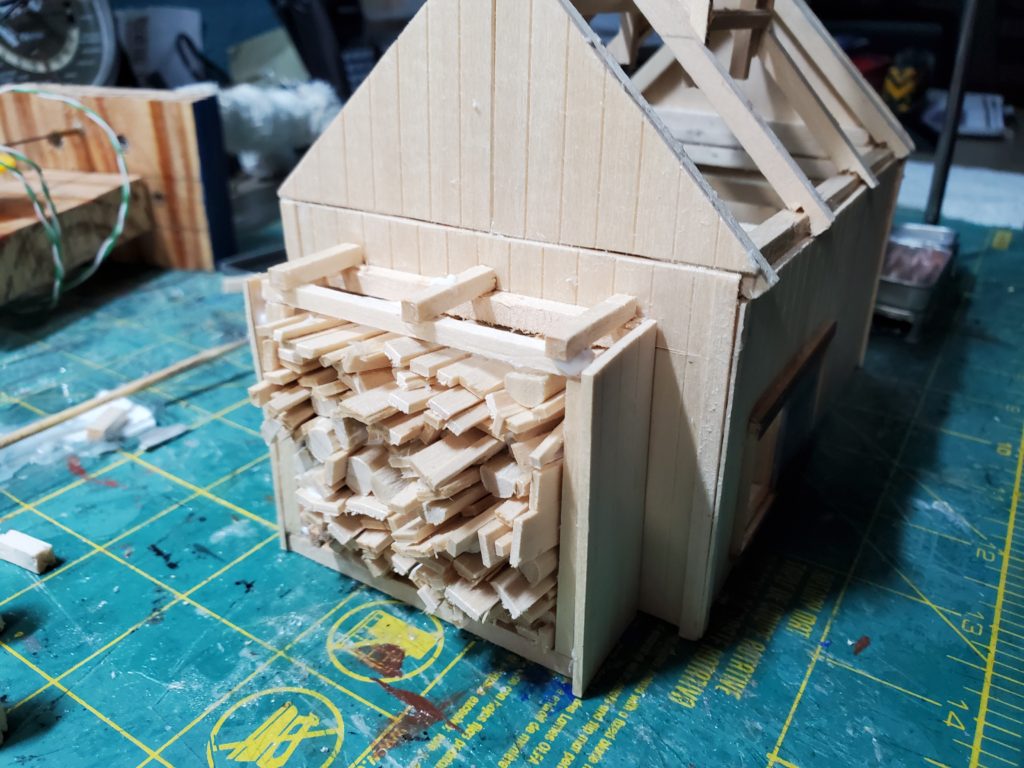
Although I have been working on the sugaring shack, I have also been working on some other projects so this one has been ongoing slowly but surely. One of the things I wanted to do with this project was to make it clear sugaring in the 50’s was done with wood fires. Wood fires needed lots of wood and most sugaring shacks had the wood easily accessible. I created a wood pile at the end of the building facing the firebox that allowed the farmer to stack the wood on the outside and remove it for burning on the inside. Here is a picture of the wood stack at the end of the shack.
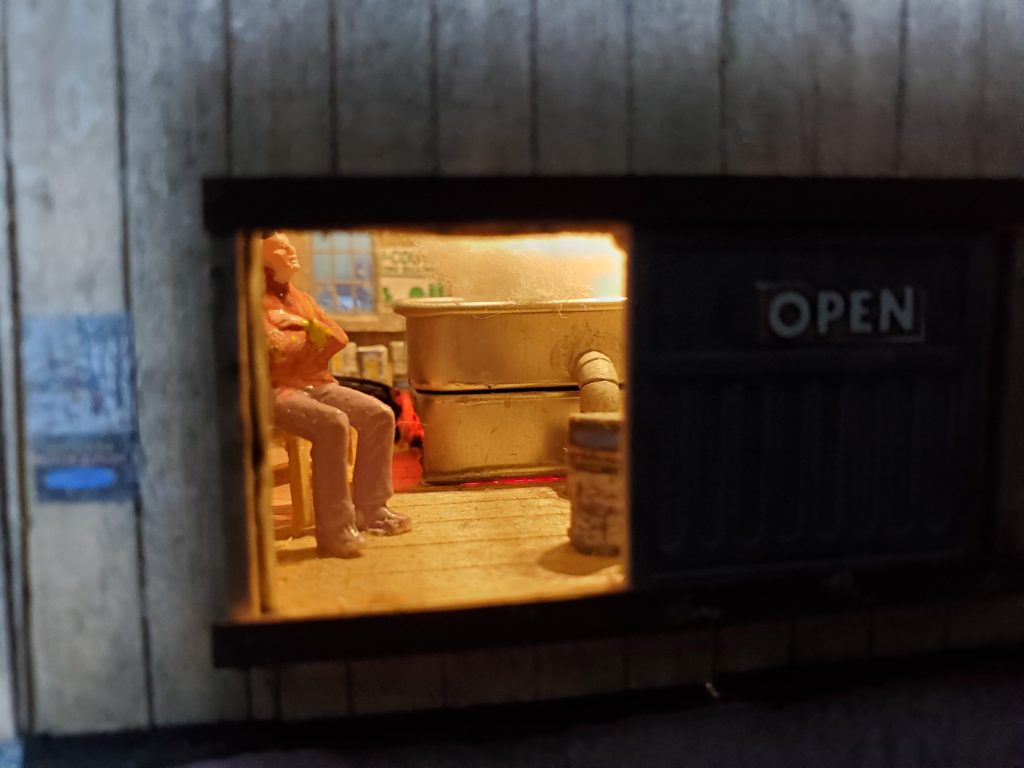
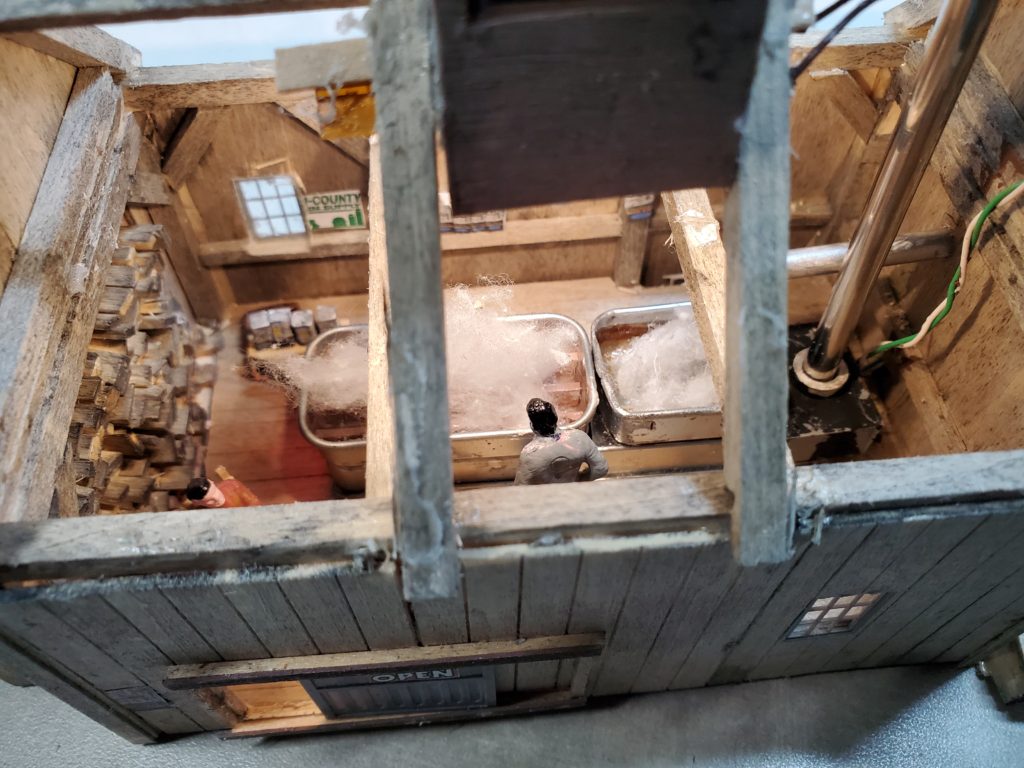
The next thing I needed to do was include the lighting in the building since I wanted the interior to be seen. I used LED’s first, but they did not provide enough lighting to see inside. I then decided to use reel led’s which I could run with a nine-volt battery. Adhering the strip Led’s to the interior roof beams worked just fine. Check the lighting in these photo.
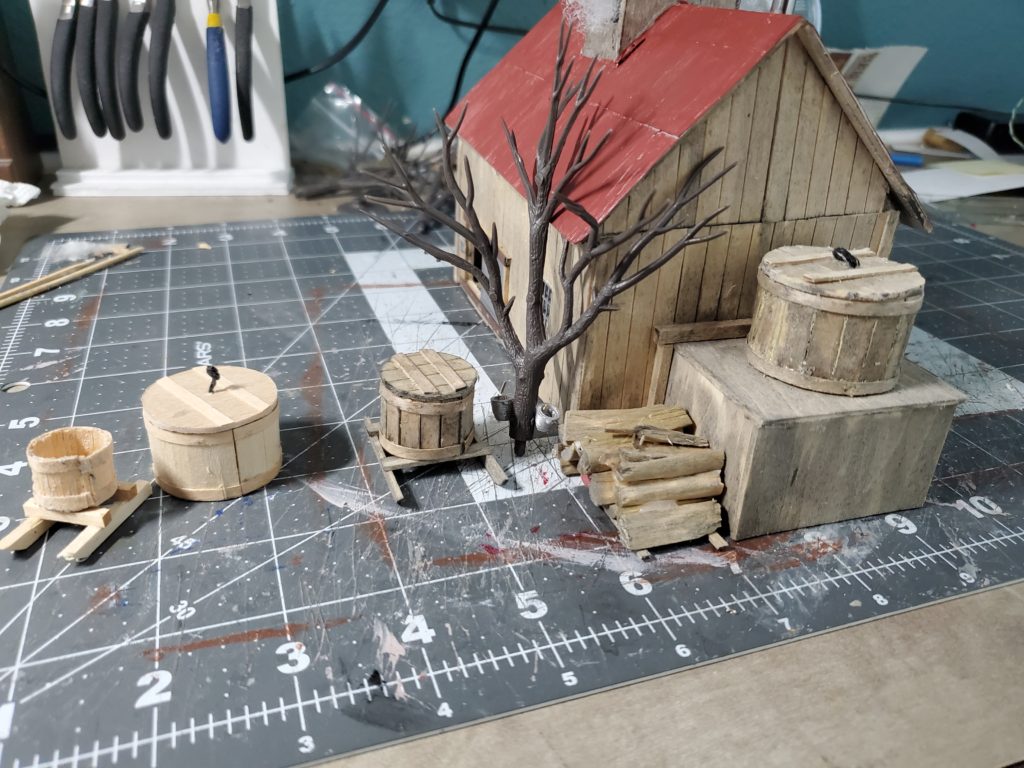
In this photo you can see some of the detail parts I have made. Although most sap collecting is done by plastic tubing now, back in the days of yore it was done by hand. Sap buckets were attached to the trees on a sap spicket with a hook on it. Farmers would use a large vat (often made out of wood like oak barrels) to collect the sap. The vat was attached to a couple of skids and drawn by a horse through the woods where the farmer could take the sap bucket off the tree and dump it into the vat which was then dumped into a vat outside the sugar shack and attached by a pipe which ran over the boiling pans inside. Here are my attempts at making a wooden Vat. You will also see a tree with sap buckets on it I will place in the diorama when I finish it. Also note I have added a metal roof, painted a rusty red.
May 2022
Yesterday I started working on some terrain for the model to sit on. I think it should have a small hill in the back and a backdrop of winter sugar woods. I found a few pictures of the woods and have printed them out. I decided to mount the pictures on poster board as I have a stock handy. Picture coming soon.
May 2022
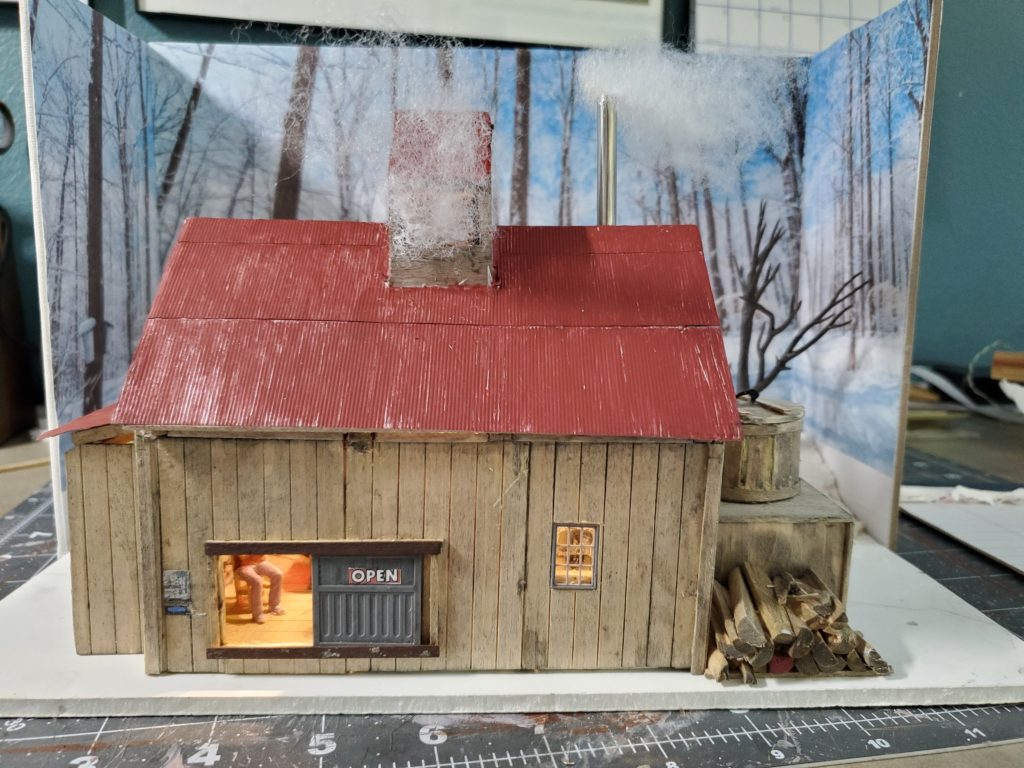
Here is a picture of the sugar shack with a background picture.
May 25, 2022
Well I have finished the sugar shack diorama.. Made a new background and pasted the pictures on Gatorfoam. The ones on the posterboard did not workout because posterboard is canvas mounted to cardboard. That does not hold up to moisture. The Gatorfoam is rigid and moisture does not effect it. Here is a picture of the background behind the sugar shack
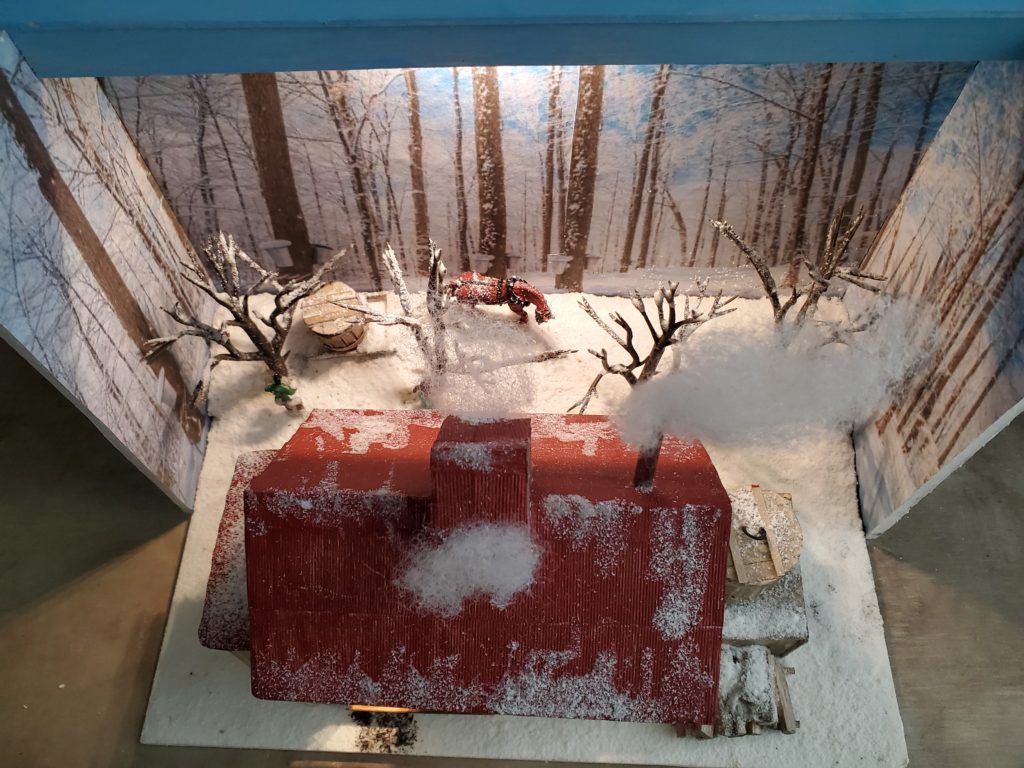
Here is a picture of the whole diorama finished.
